Yu-Gi-Oh! OCG Structures
Chapter 71
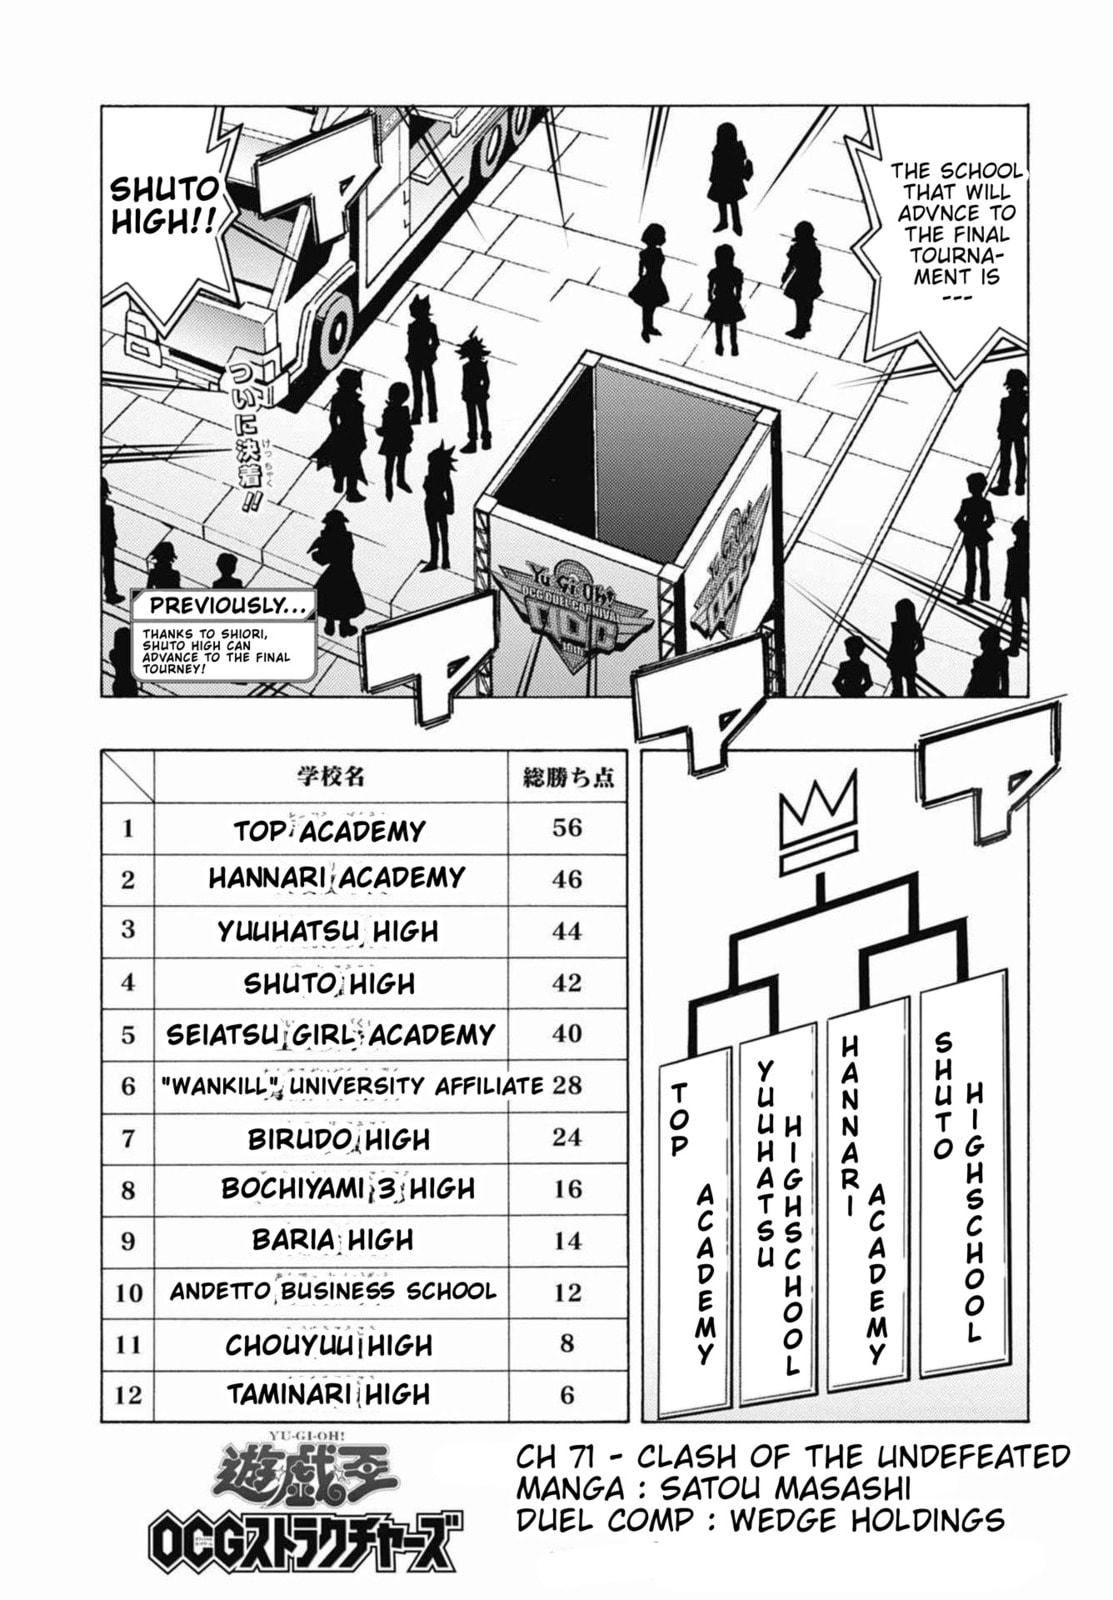
Read Yu-Gi-Oh! OCG Structures chapter 71 image 0 on Lezhin
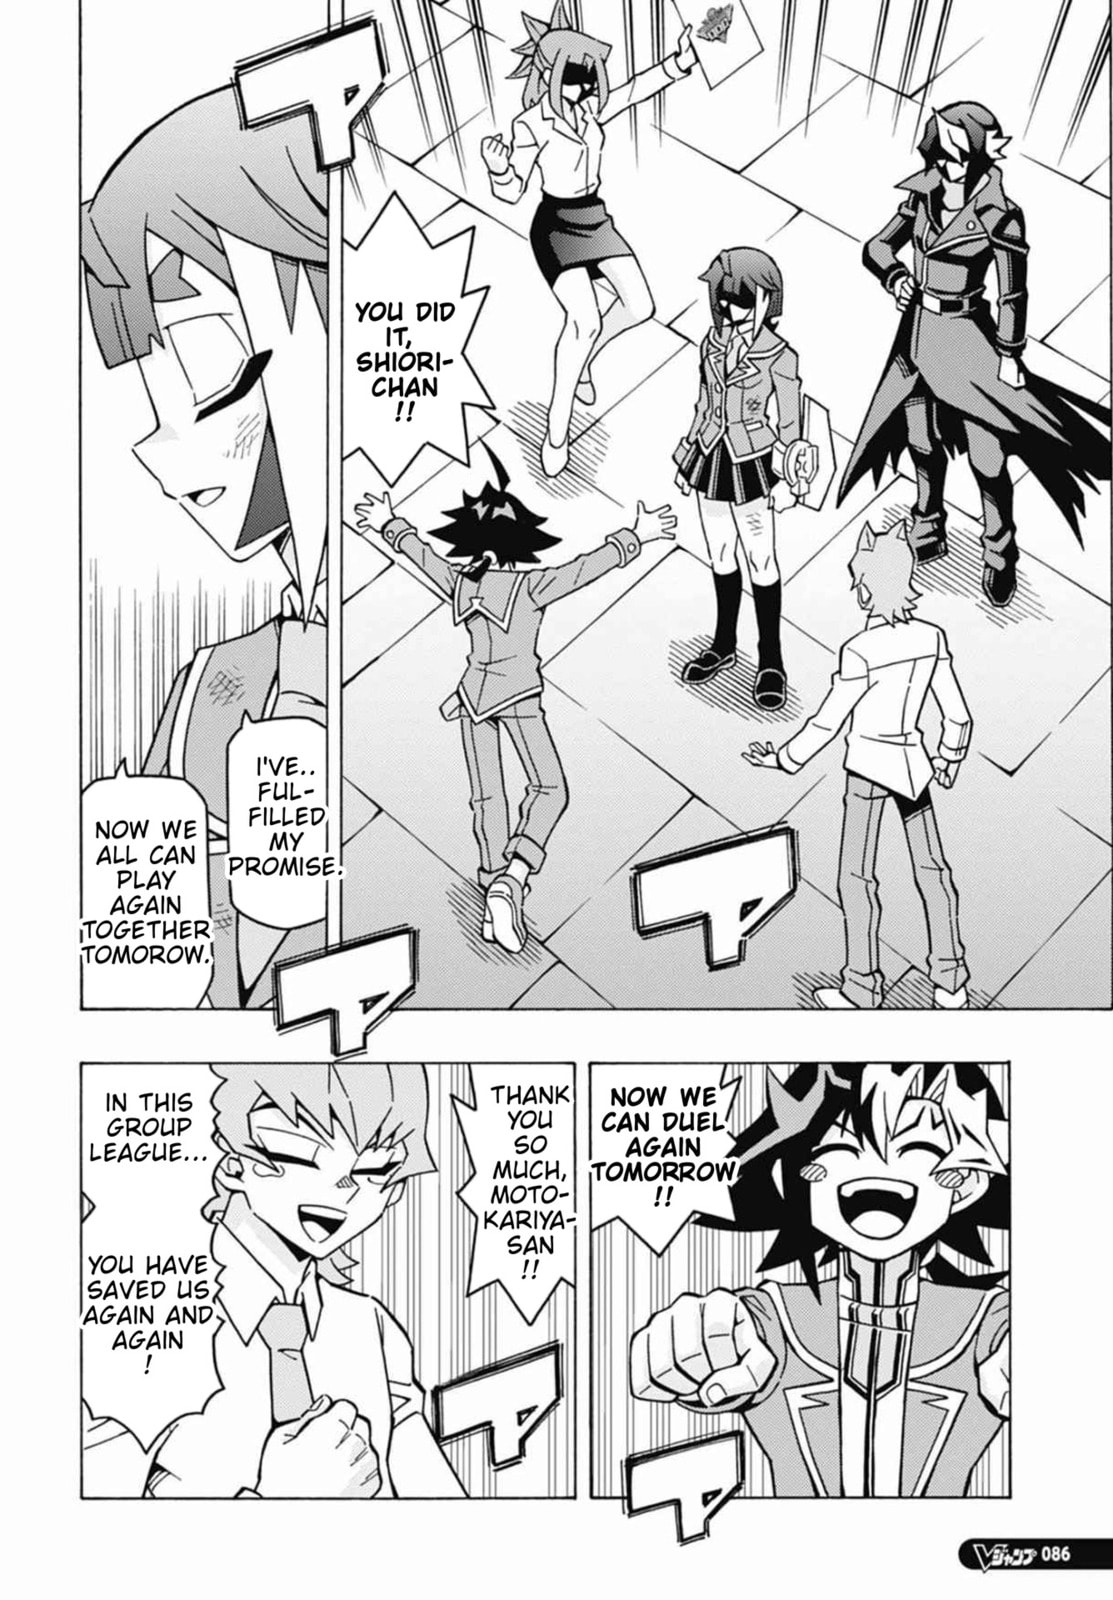
Read Yu-Gi-Oh! OCG Structures chapter 71 image 1 on Lezhin
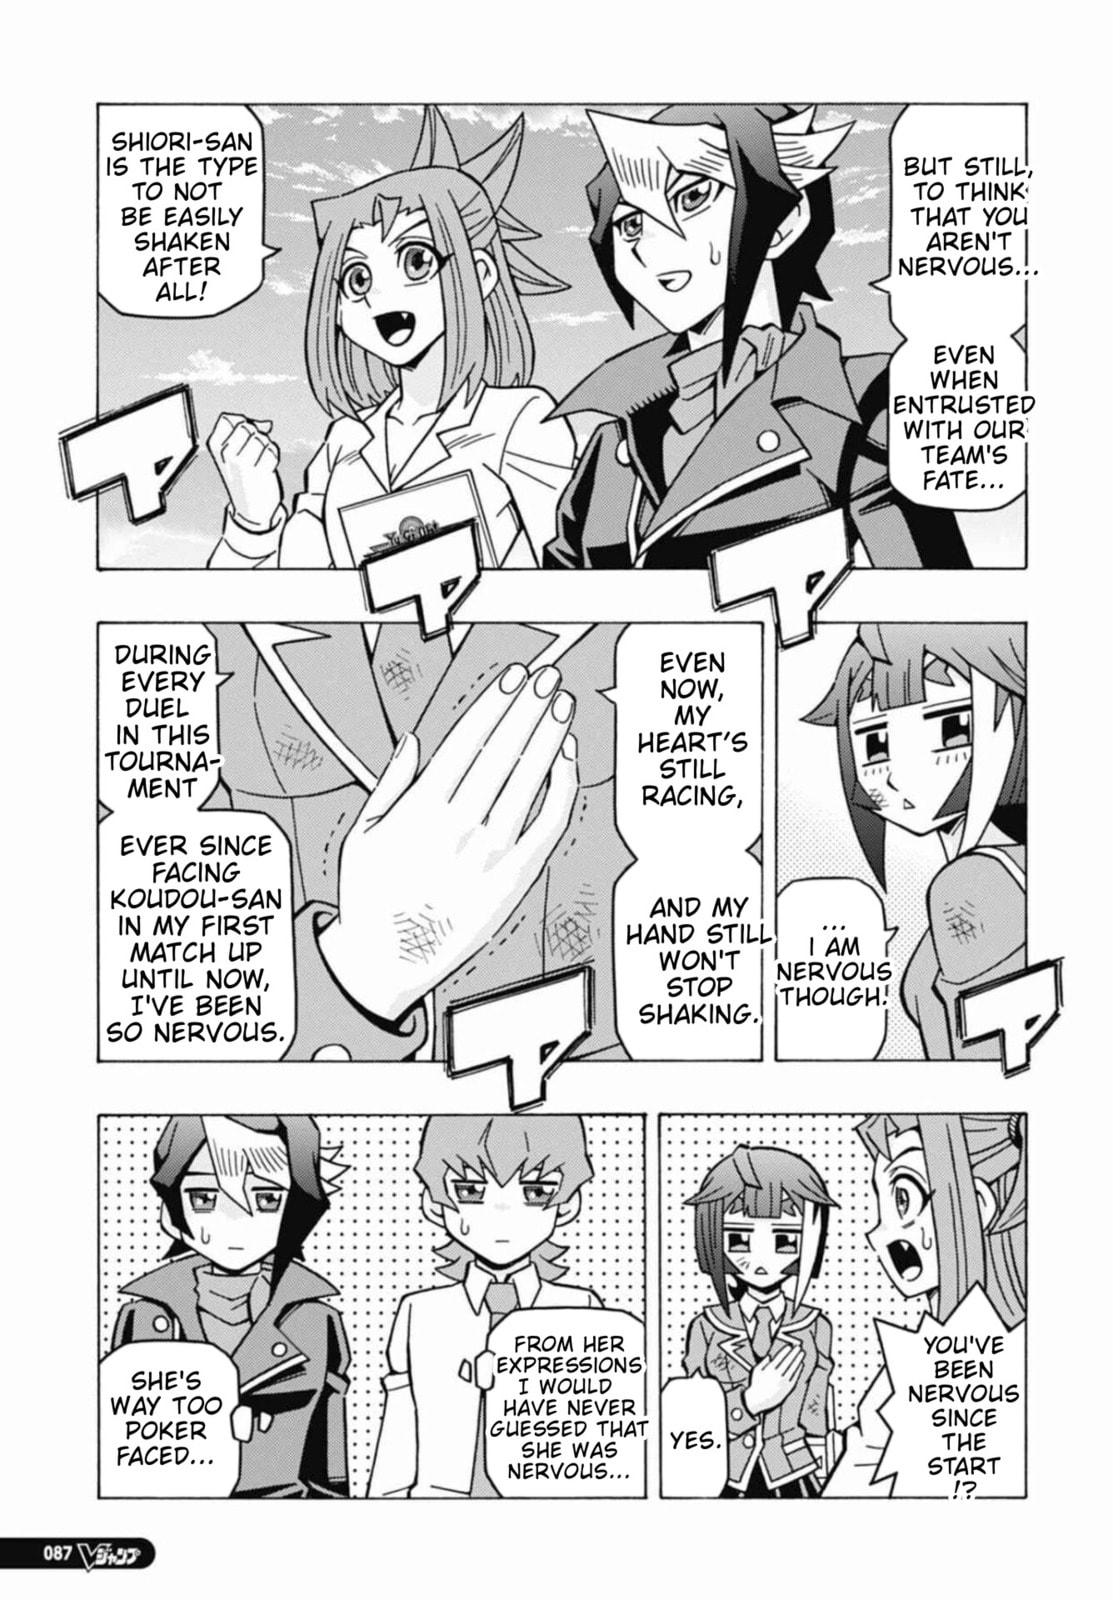
Read Yu-Gi-Oh! OCG Structures chapter 71 image 2 on Lezhin
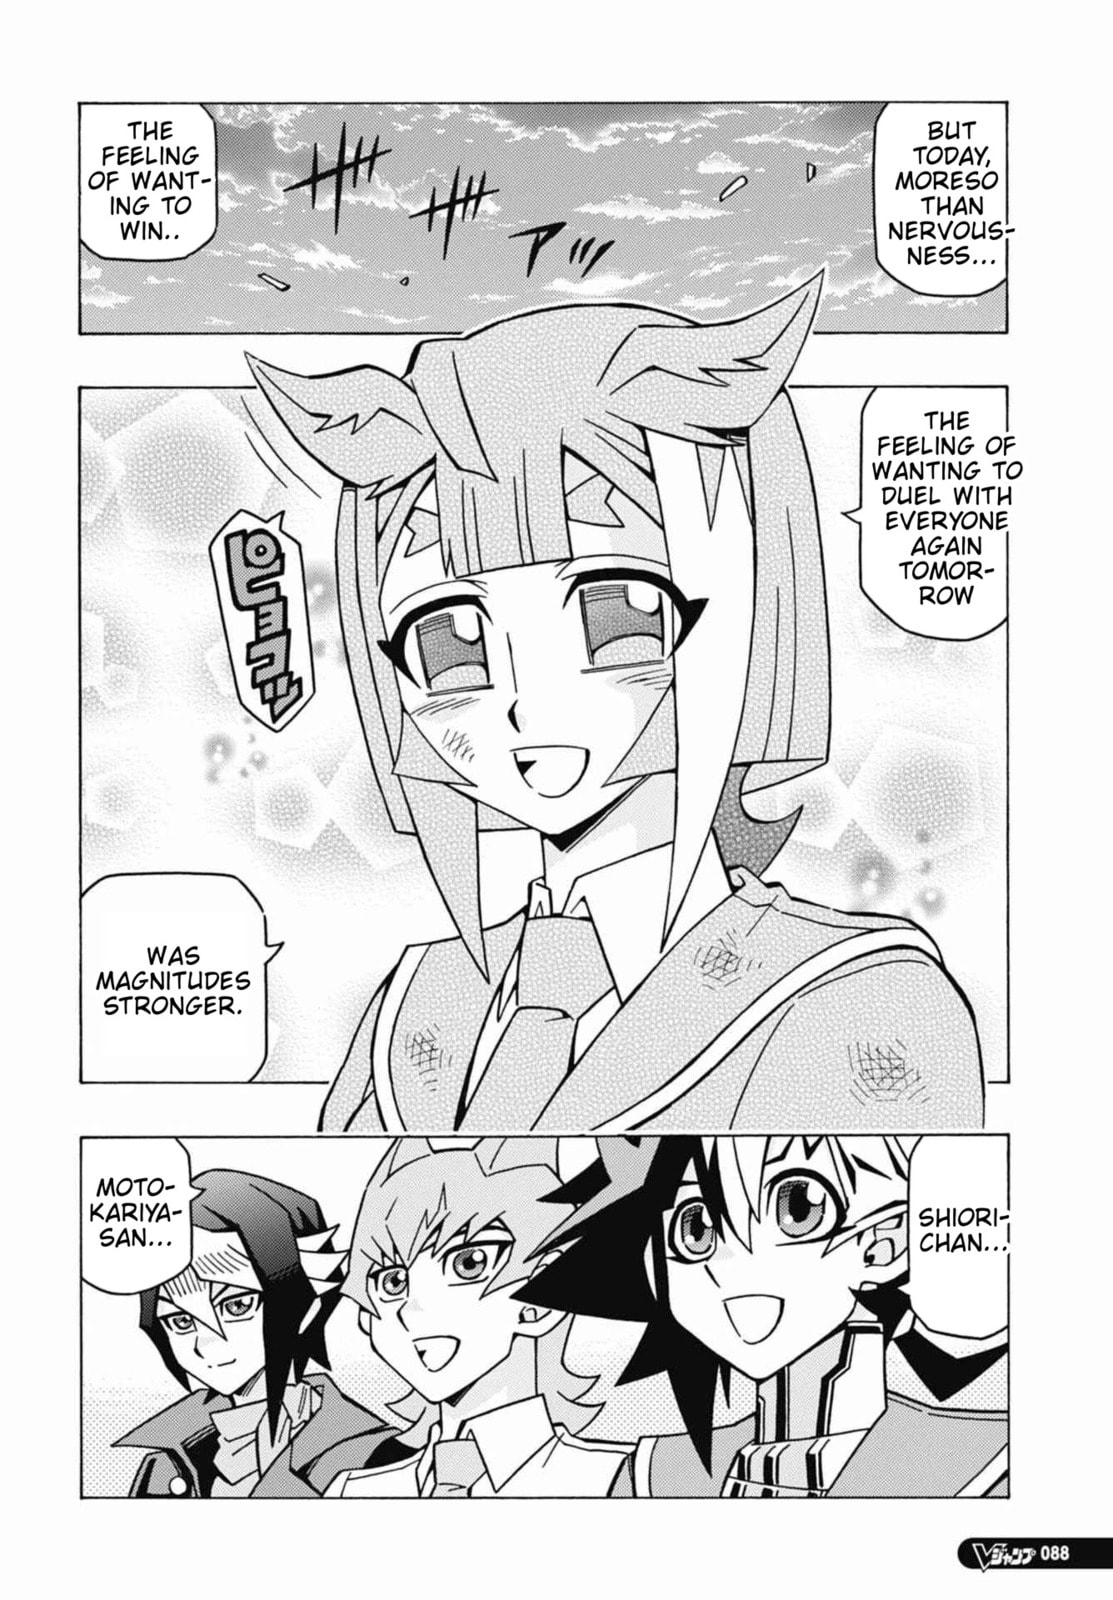
Read Yu-Gi-Oh! OCG Structures chapter 71 image 3 on Lezhin
Read Yu-Gi-Oh! OCG Structures chapter 71 image 4 on Lezhin
Read Yu-Gi-Oh! OCG Structures chapter 71 image 5 on Lezhin
Read Yu-Gi-Oh! OCG Structures chapter 71 image 6 on Lezhin
Read Yu-Gi-Oh! OCG Structures chapter 71 image 7 on Lezhin
Read Yu-Gi-Oh! OCG Structures chapter 71 image 8 on Lezhin
Read Yu-Gi-Oh! OCG Structures chapter 71 image 9 on Lezhin
Read Yu-Gi-Oh! OCG Structures chapter 71 image 10 on Lezhin
Read Yu-Gi-Oh! OCG Structures chapter 71 image 11 on Lezhin
Read Yu-Gi-Oh! OCG Structures chapter 71 image 12 on Lezhin
Read Yu-Gi-Oh! OCG Structures chapter 71 image 13 on Lezhin
Read Yu-Gi-Oh! OCG Structures chapter 71 image 14 on Lezhin
Read Yu-Gi-Oh! OCG Structures chapter 71 image 15 on Lezhin
Read Yu-Gi-Oh! OCG Structures chapter 71 image 16 on Lezhin
Read Yu-Gi-Oh! OCG Structures chapter 71 image 17 on Lezhin
Read Yu-Gi-Oh! OCG Structures chapter 71 image 18 on Lezhin
Read Yu-Gi-Oh! OCG Structures chapter 71 image 19 on Lezhin
Read Yu-Gi-Oh! OCG Structures chapter 71 image 20 on Lezhin
Read Yu-Gi-Oh! OCG Structures chapter 71 image 21 on Lezhin
Read Yu-Gi-Oh! OCG Structures chapter 71 image 22 on Lezhin
Read Yu-Gi-Oh! OCG Structures chapter 71 image 23 on Lezhin
Read Yu-Gi-Oh! OCG Structures chapter 71 image 24 on Lezhin
Read Yu-Gi-Oh! OCG Structures chapter 71 image 25 on Lezhin
Read Yu-Gi-Oh! OCG Structures chapter 71 image 26 on Lezhin
Comments
Prev Next