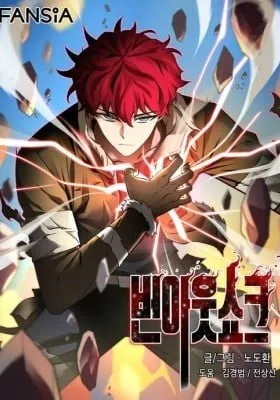
Burnout Shock
Burnout Shock
Chapter 3.1
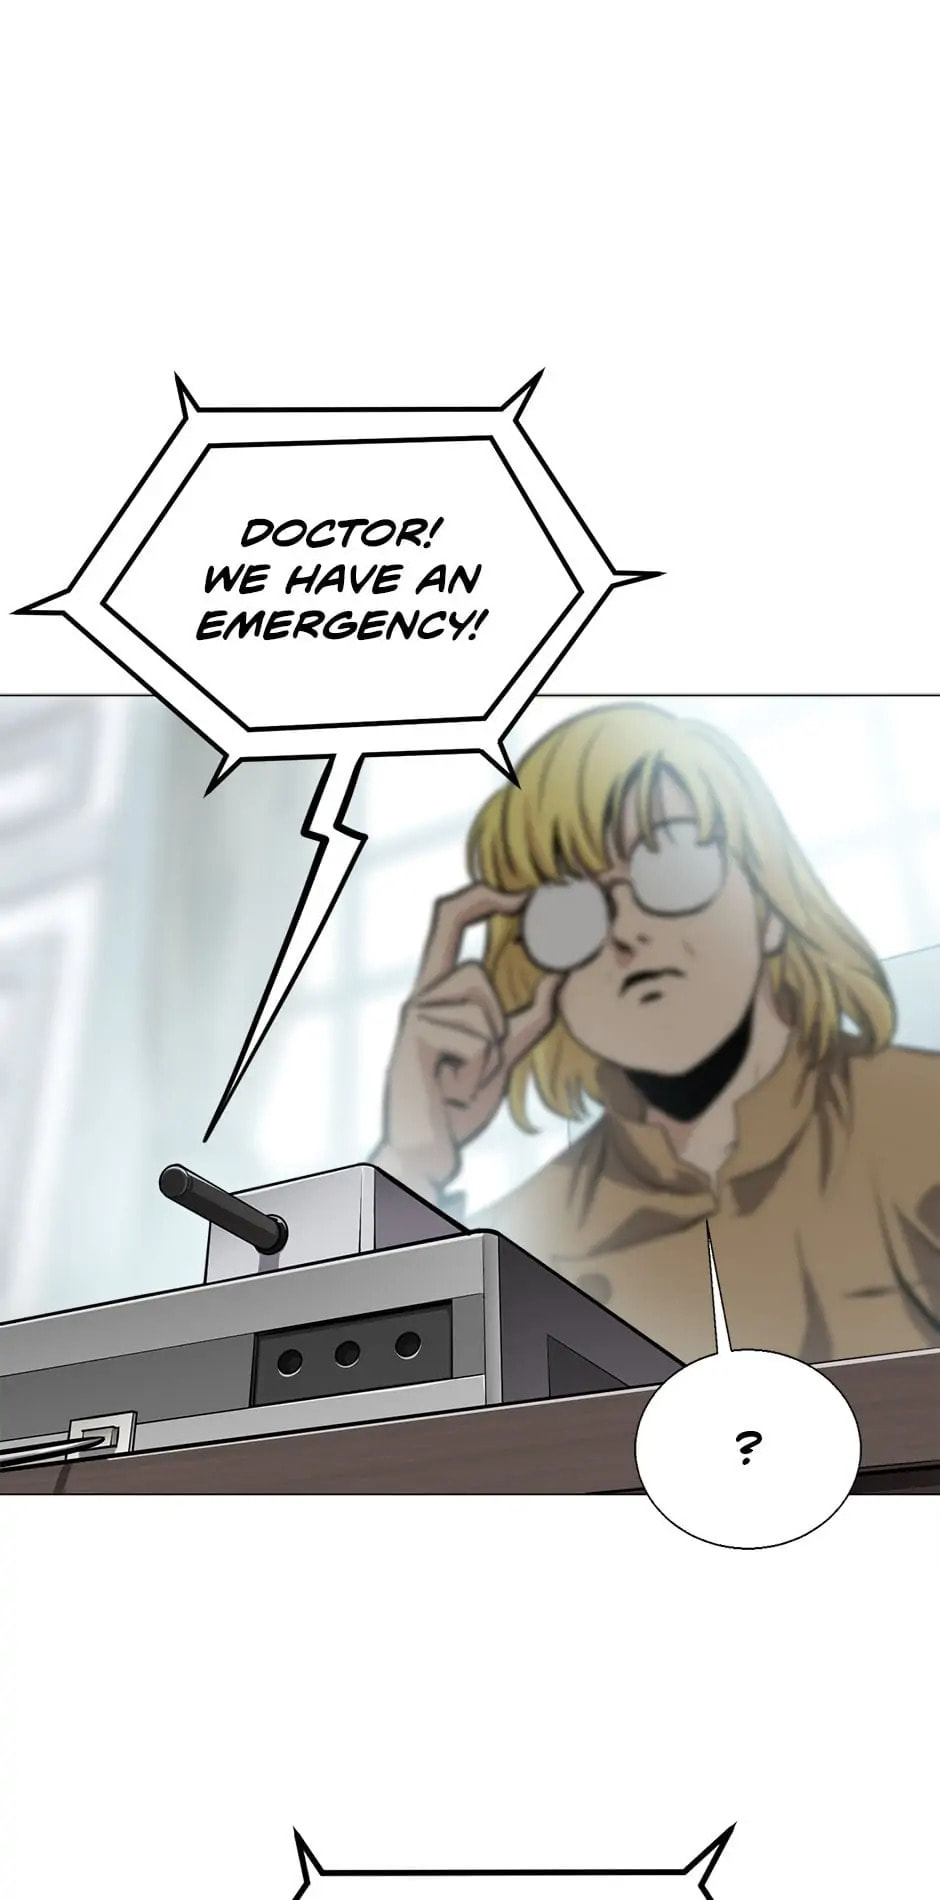
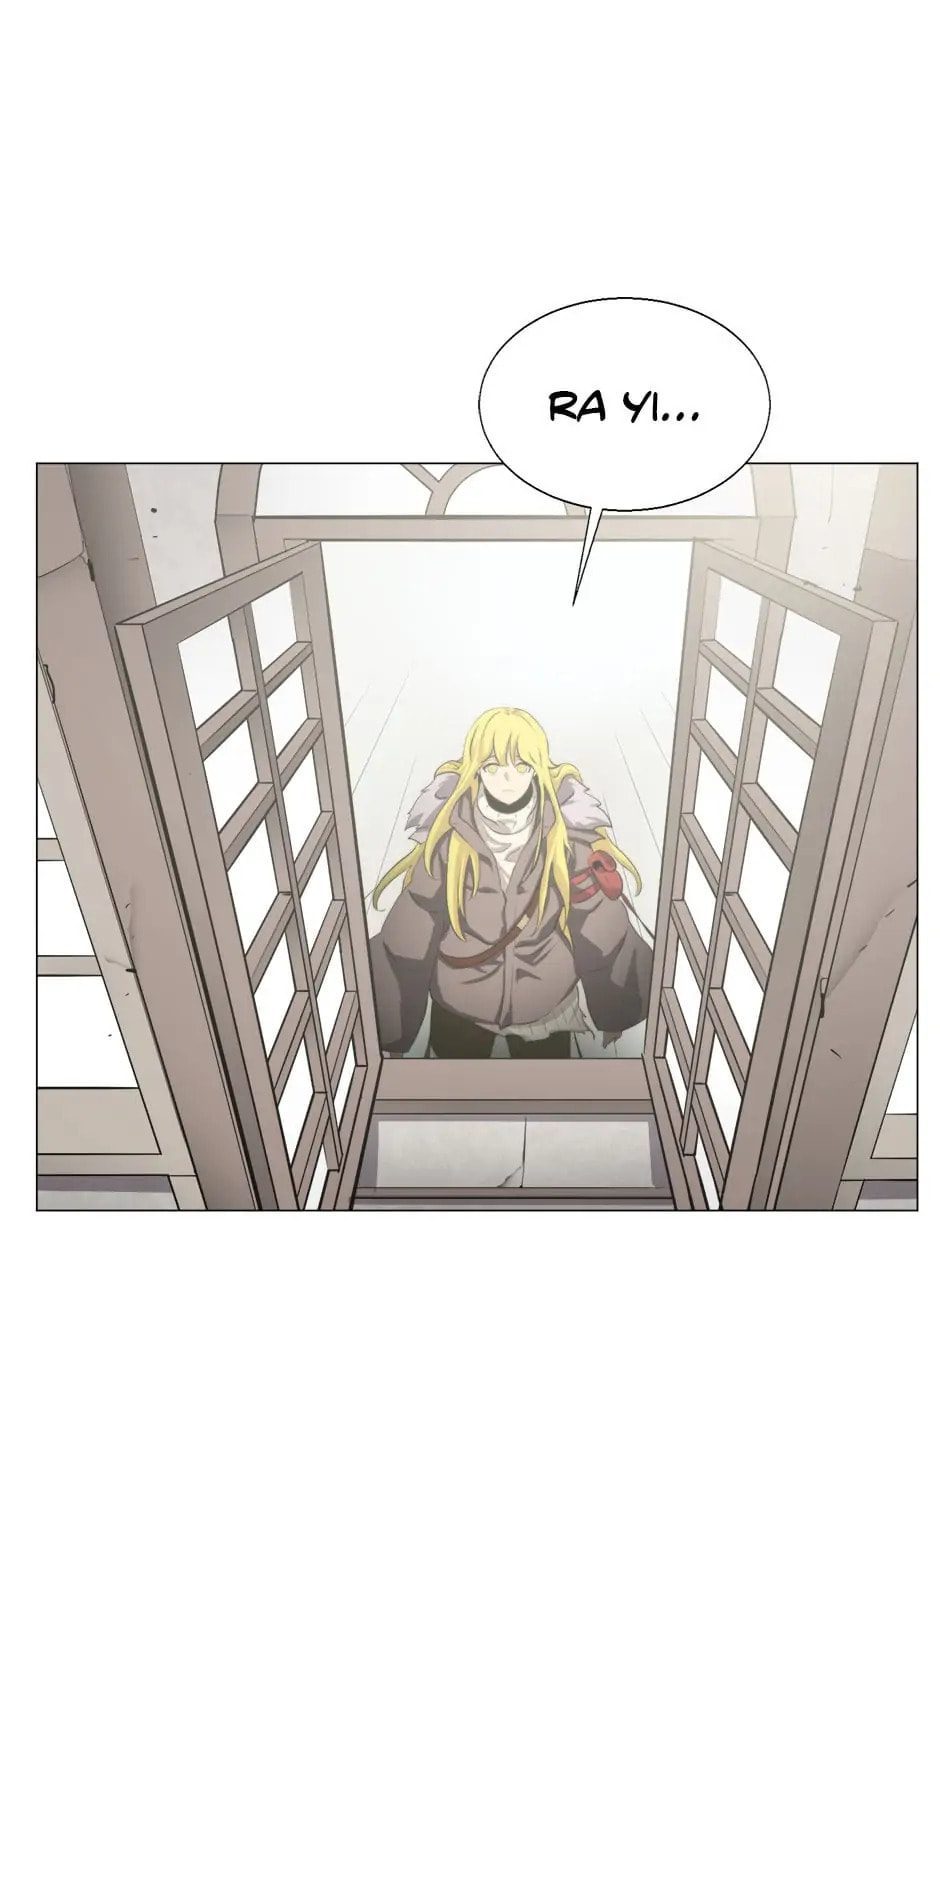
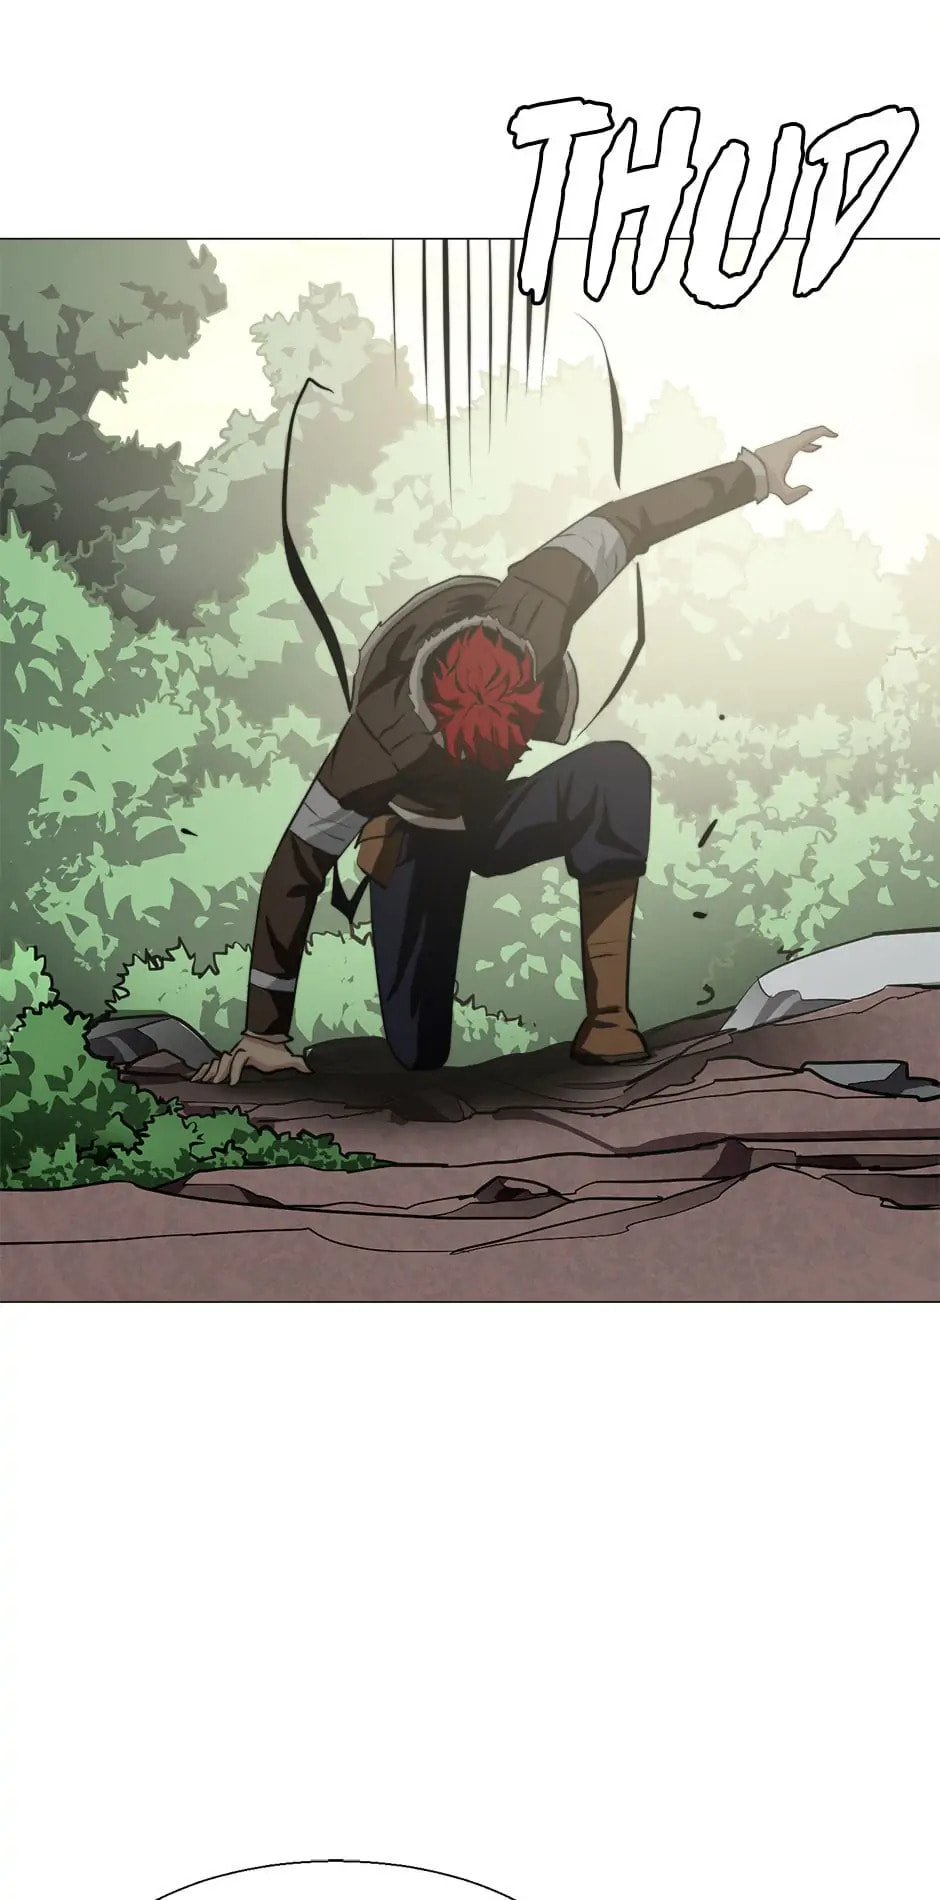
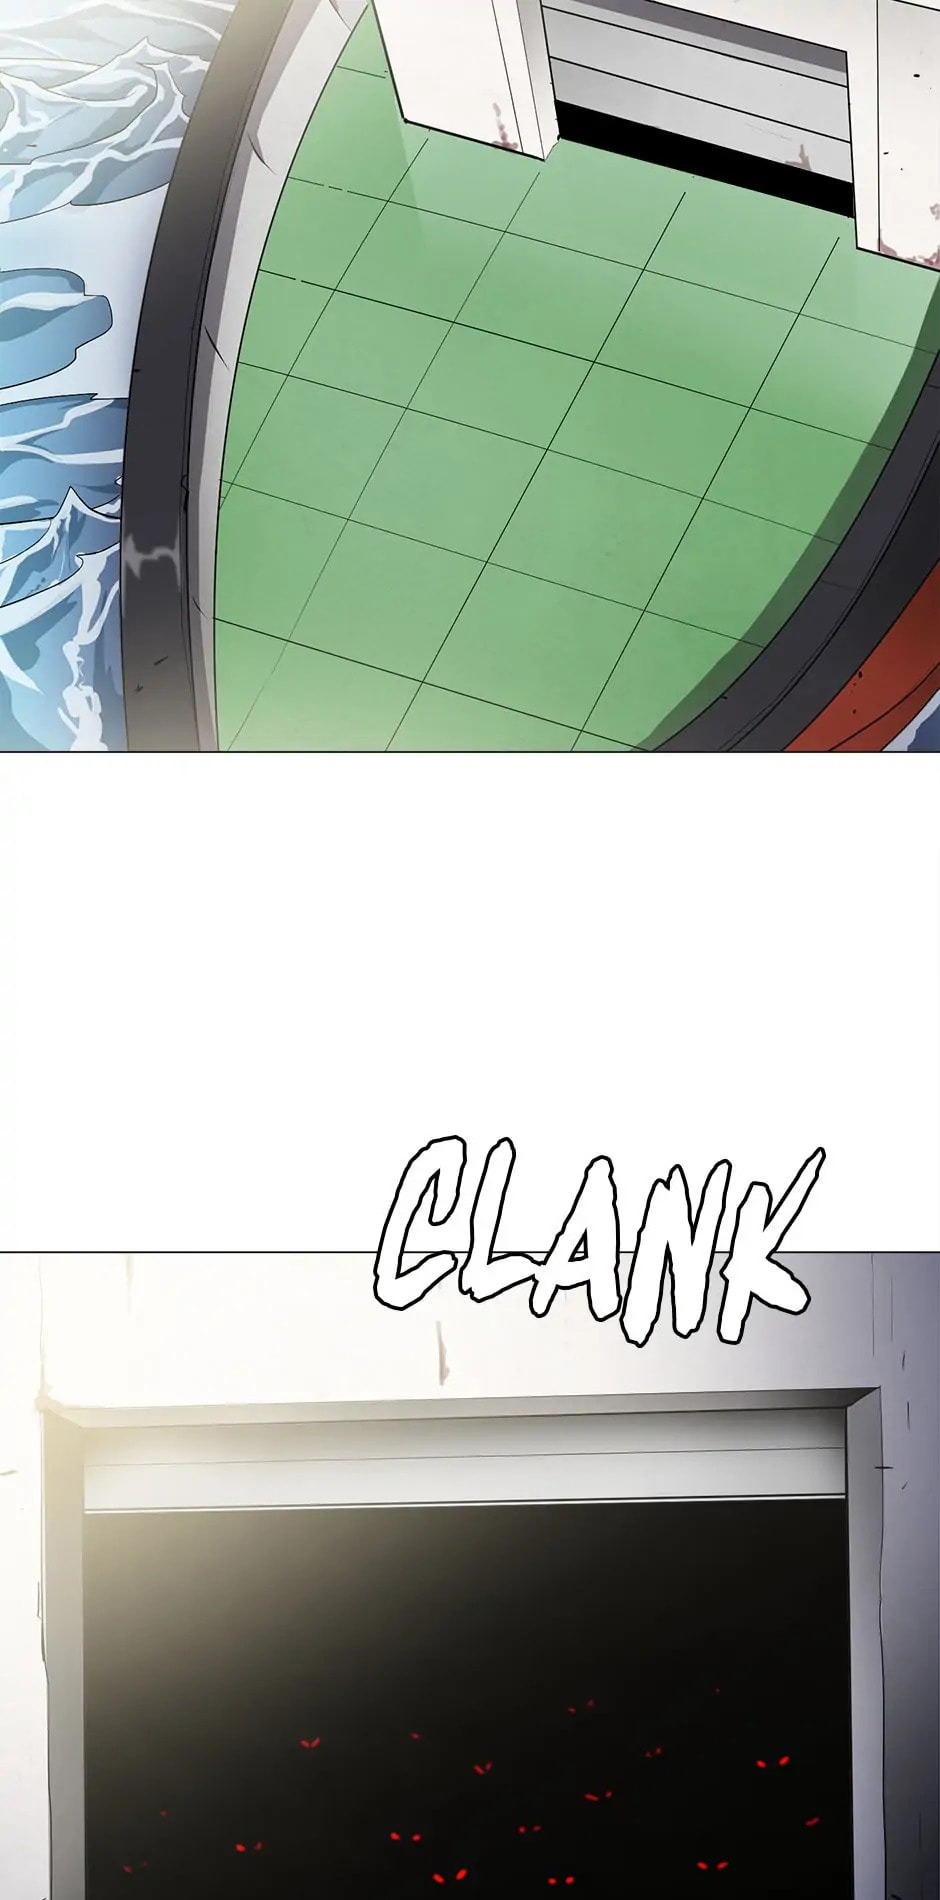
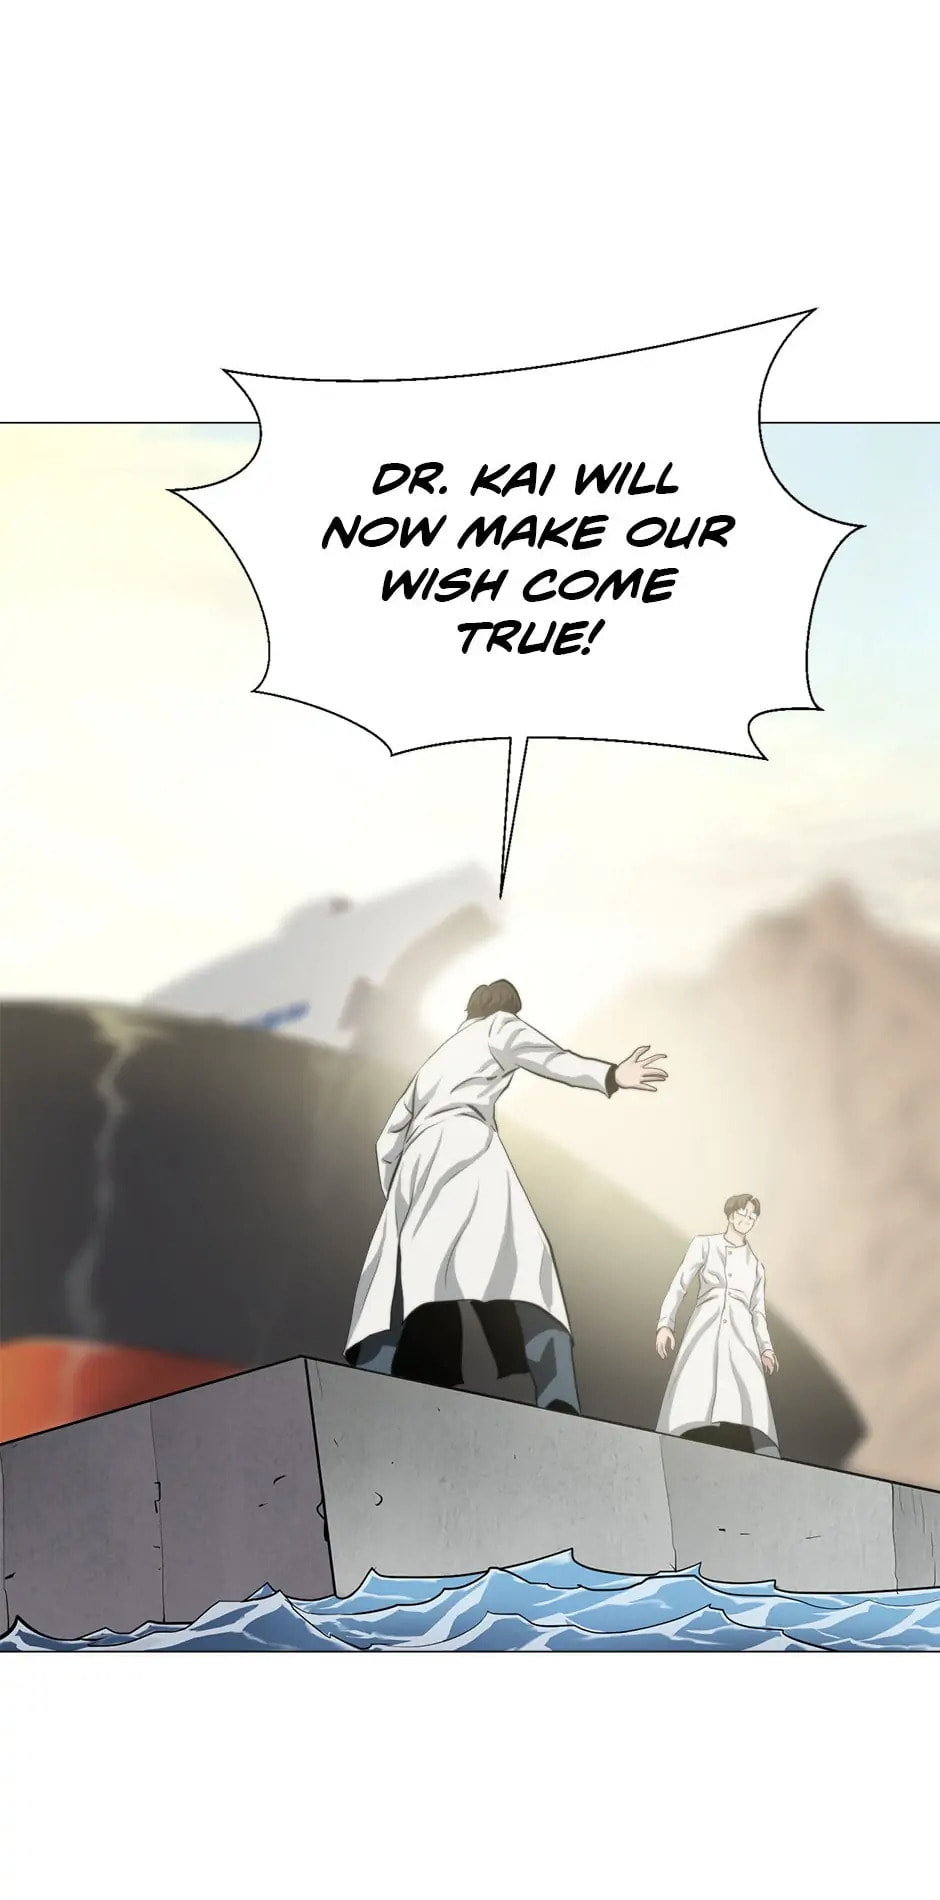
Read Burnout Shock chapter 3.1 image 0 on Lezhin
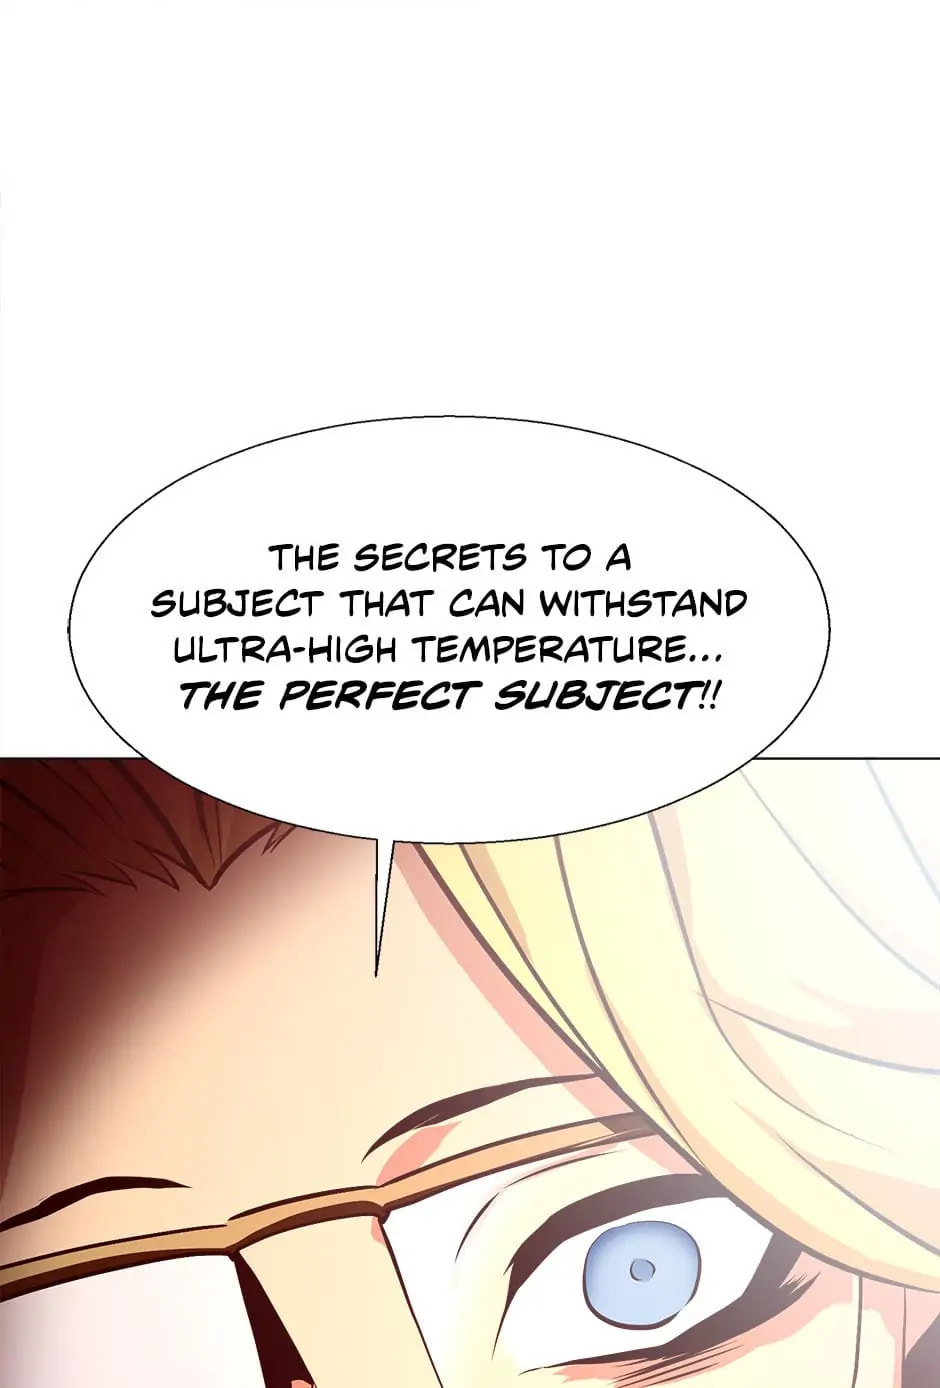
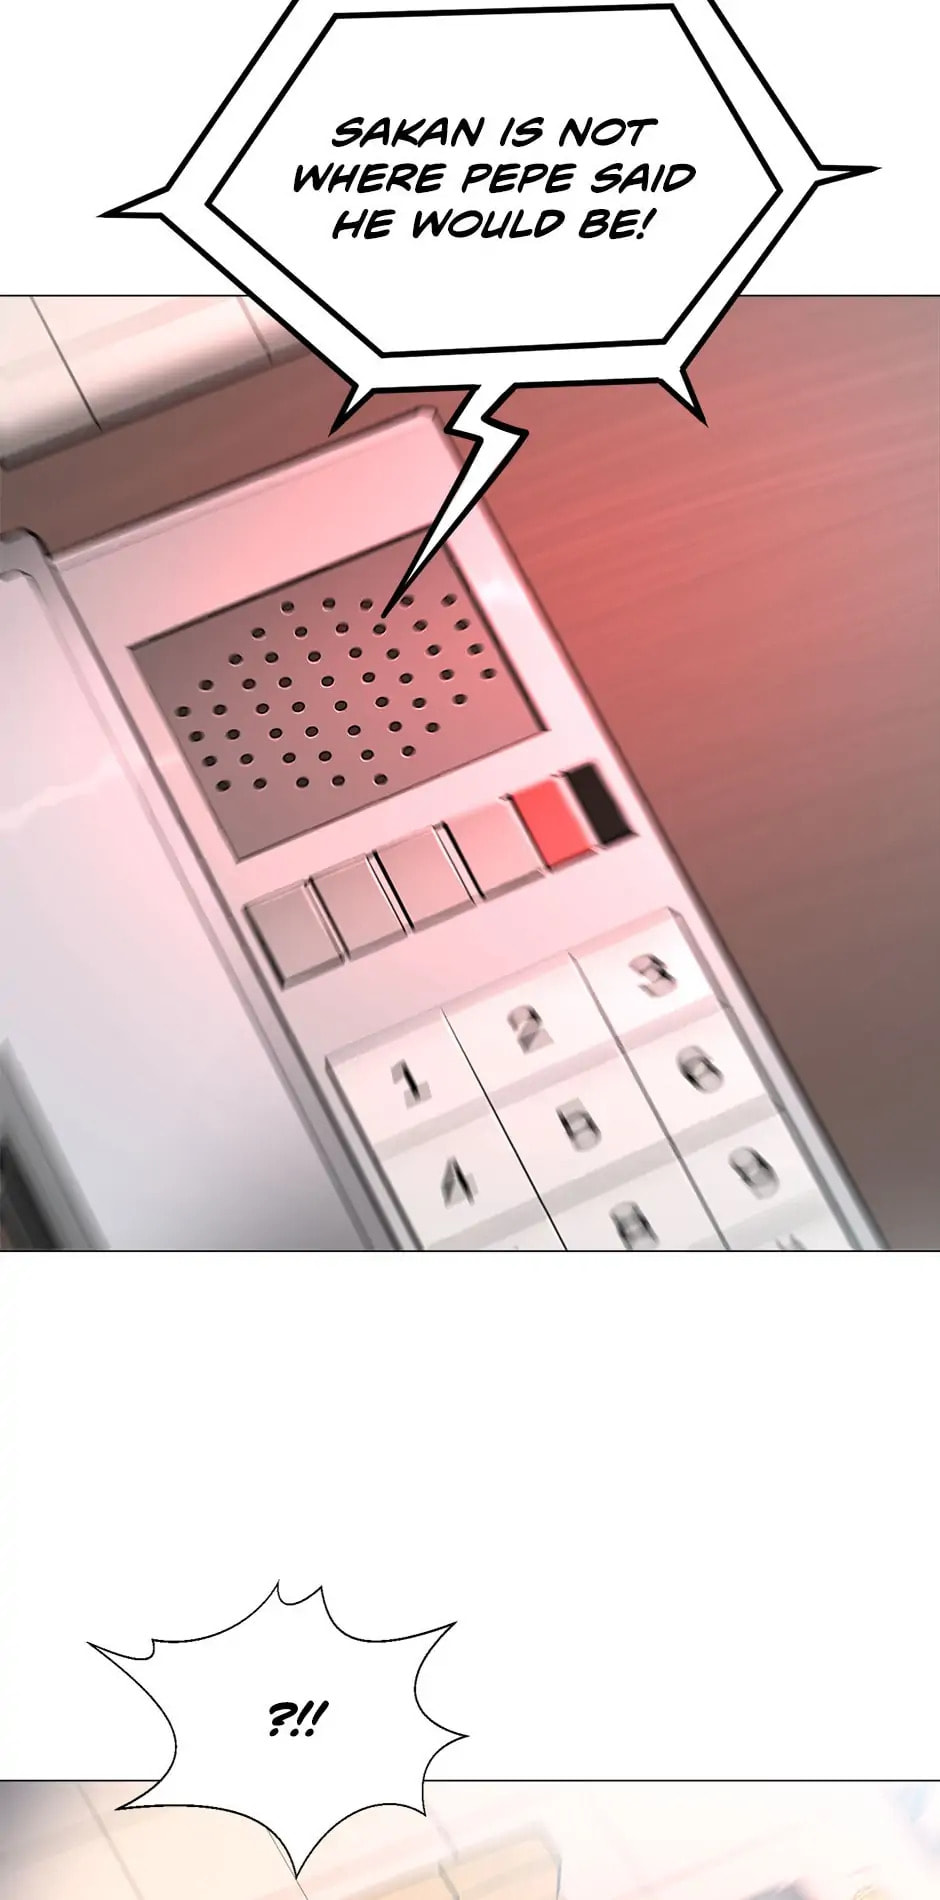
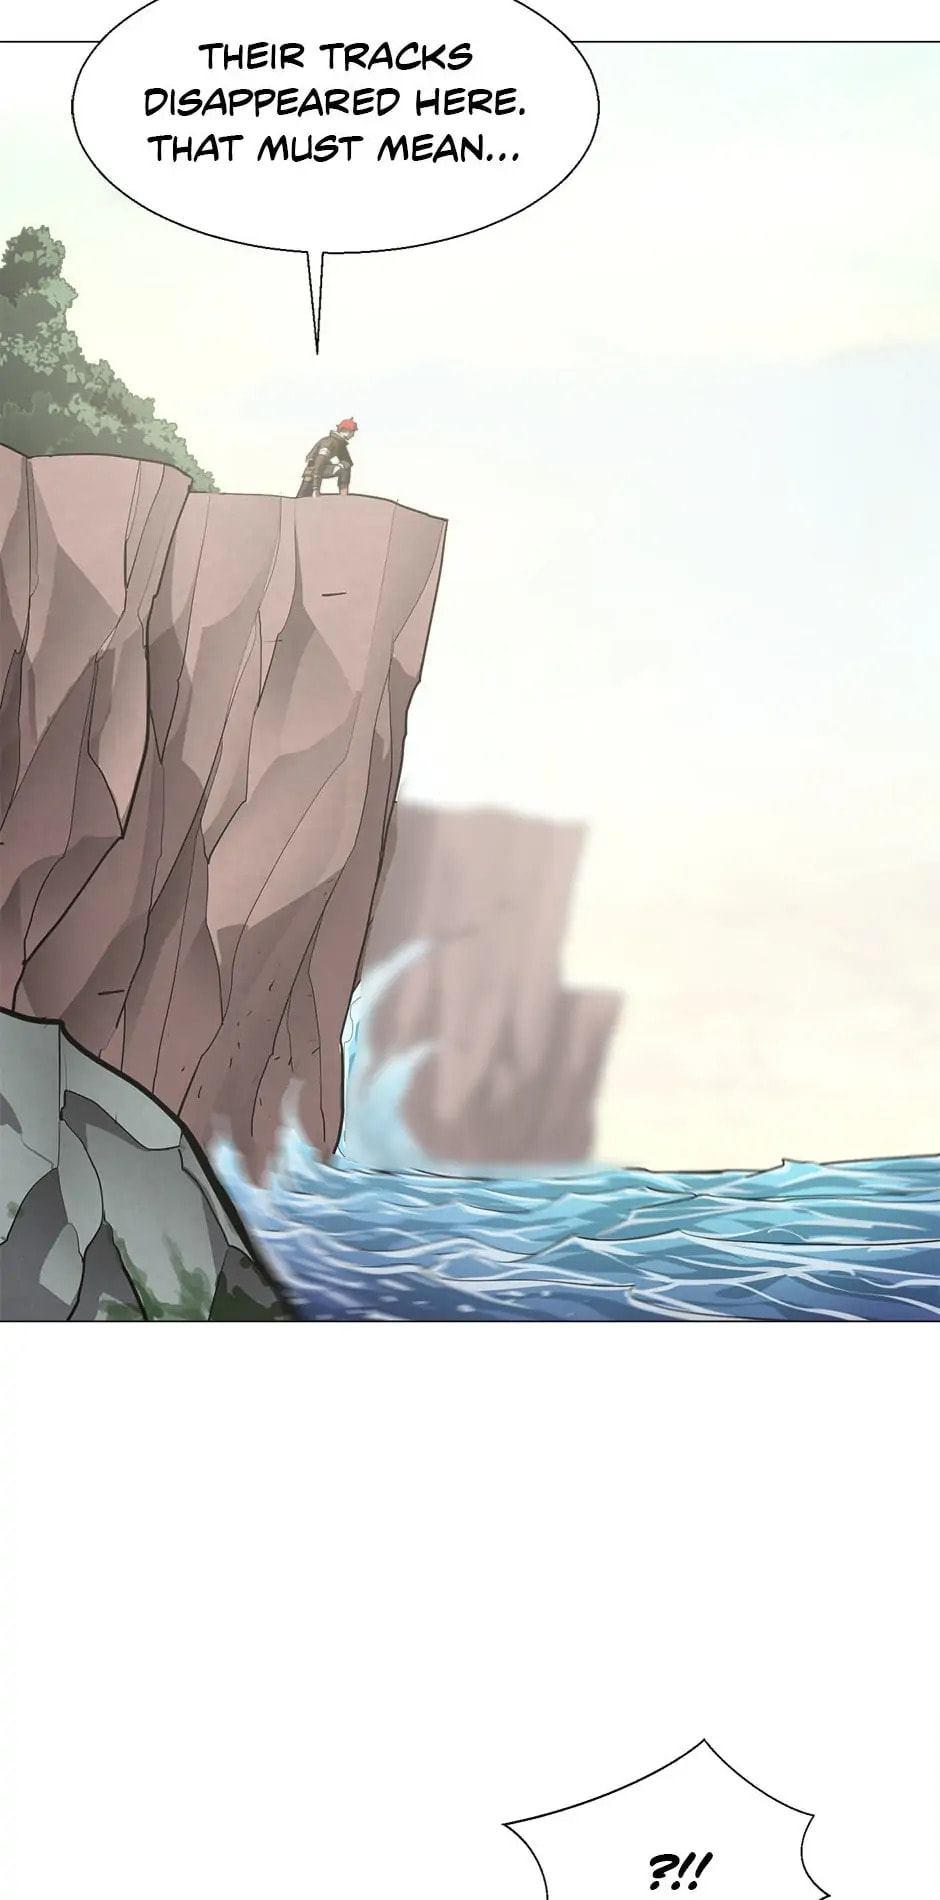
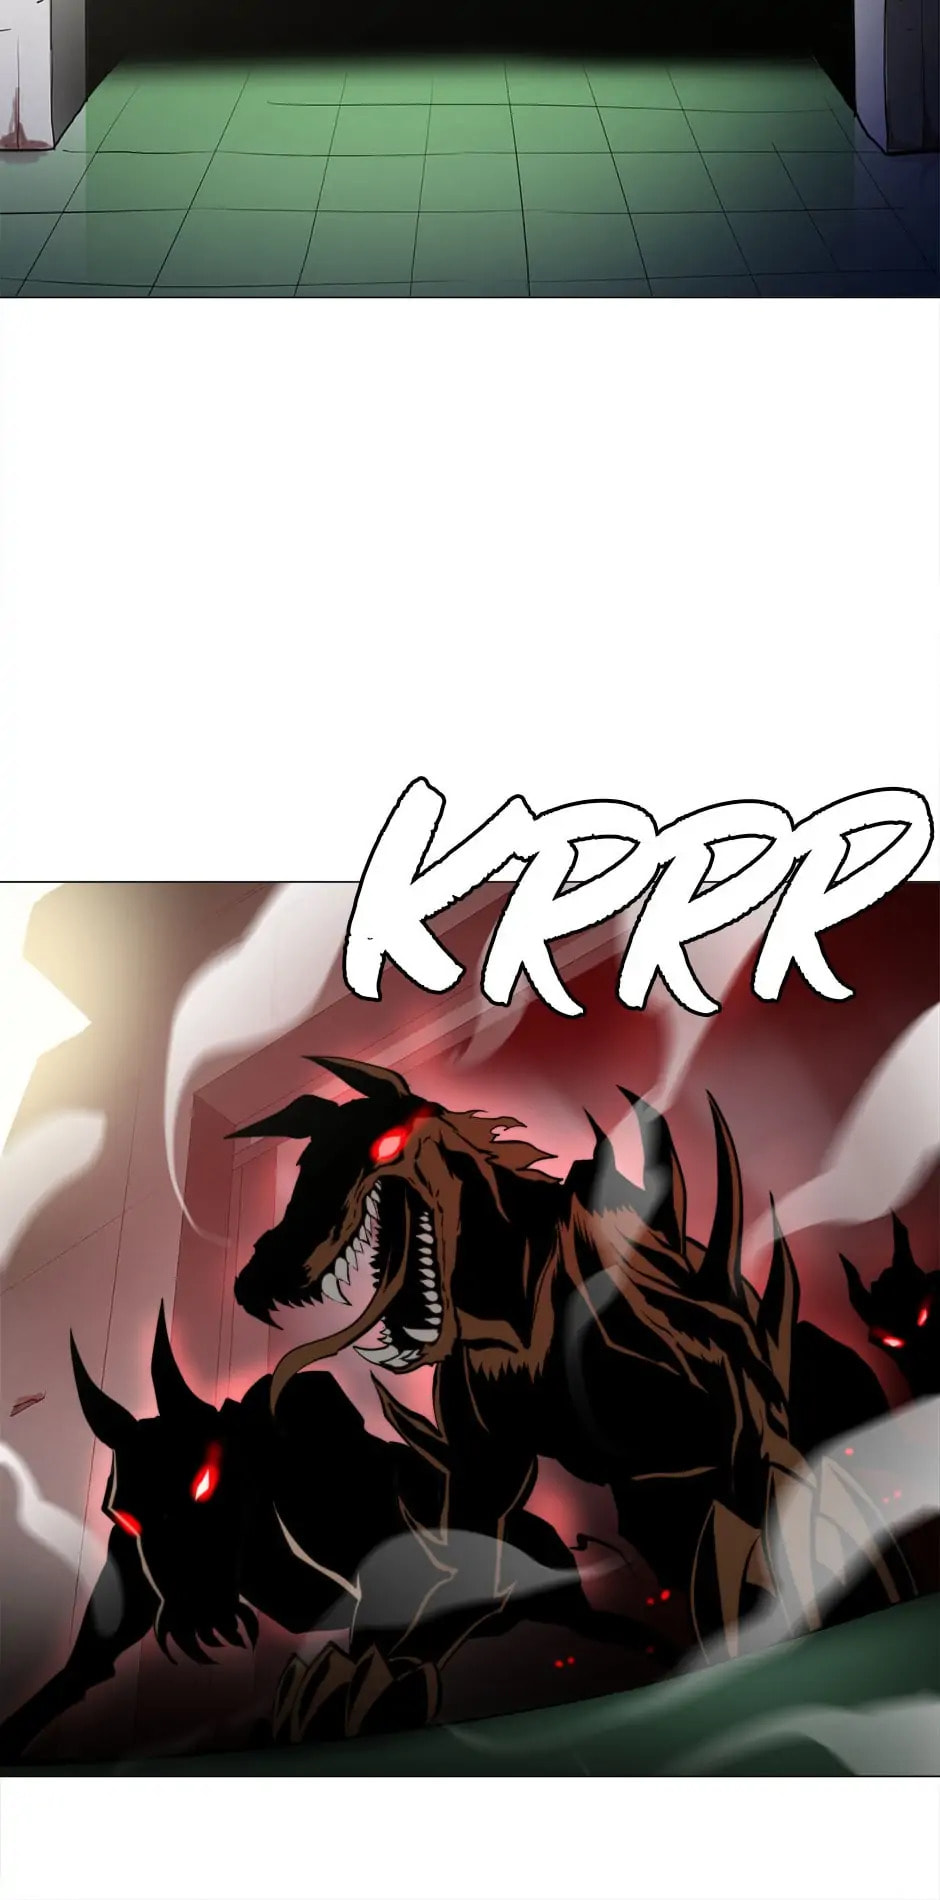
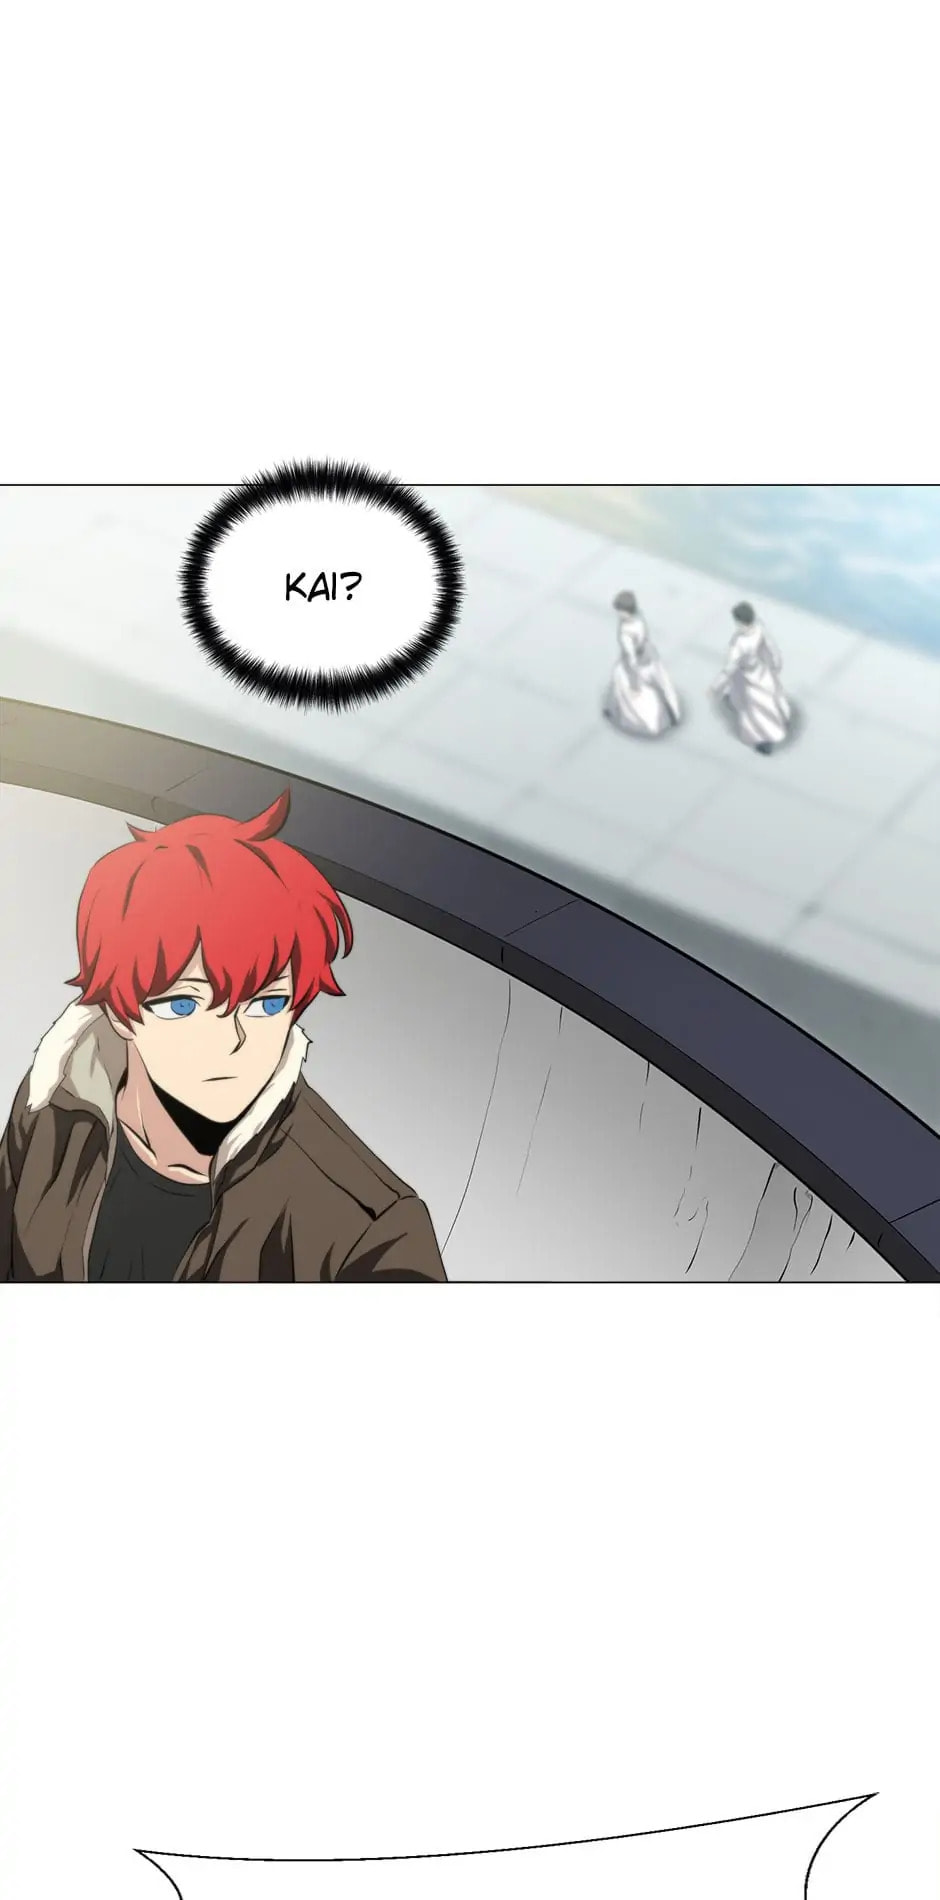
Read Burnout Shock chapter 3.1 image 1 on Lezhin
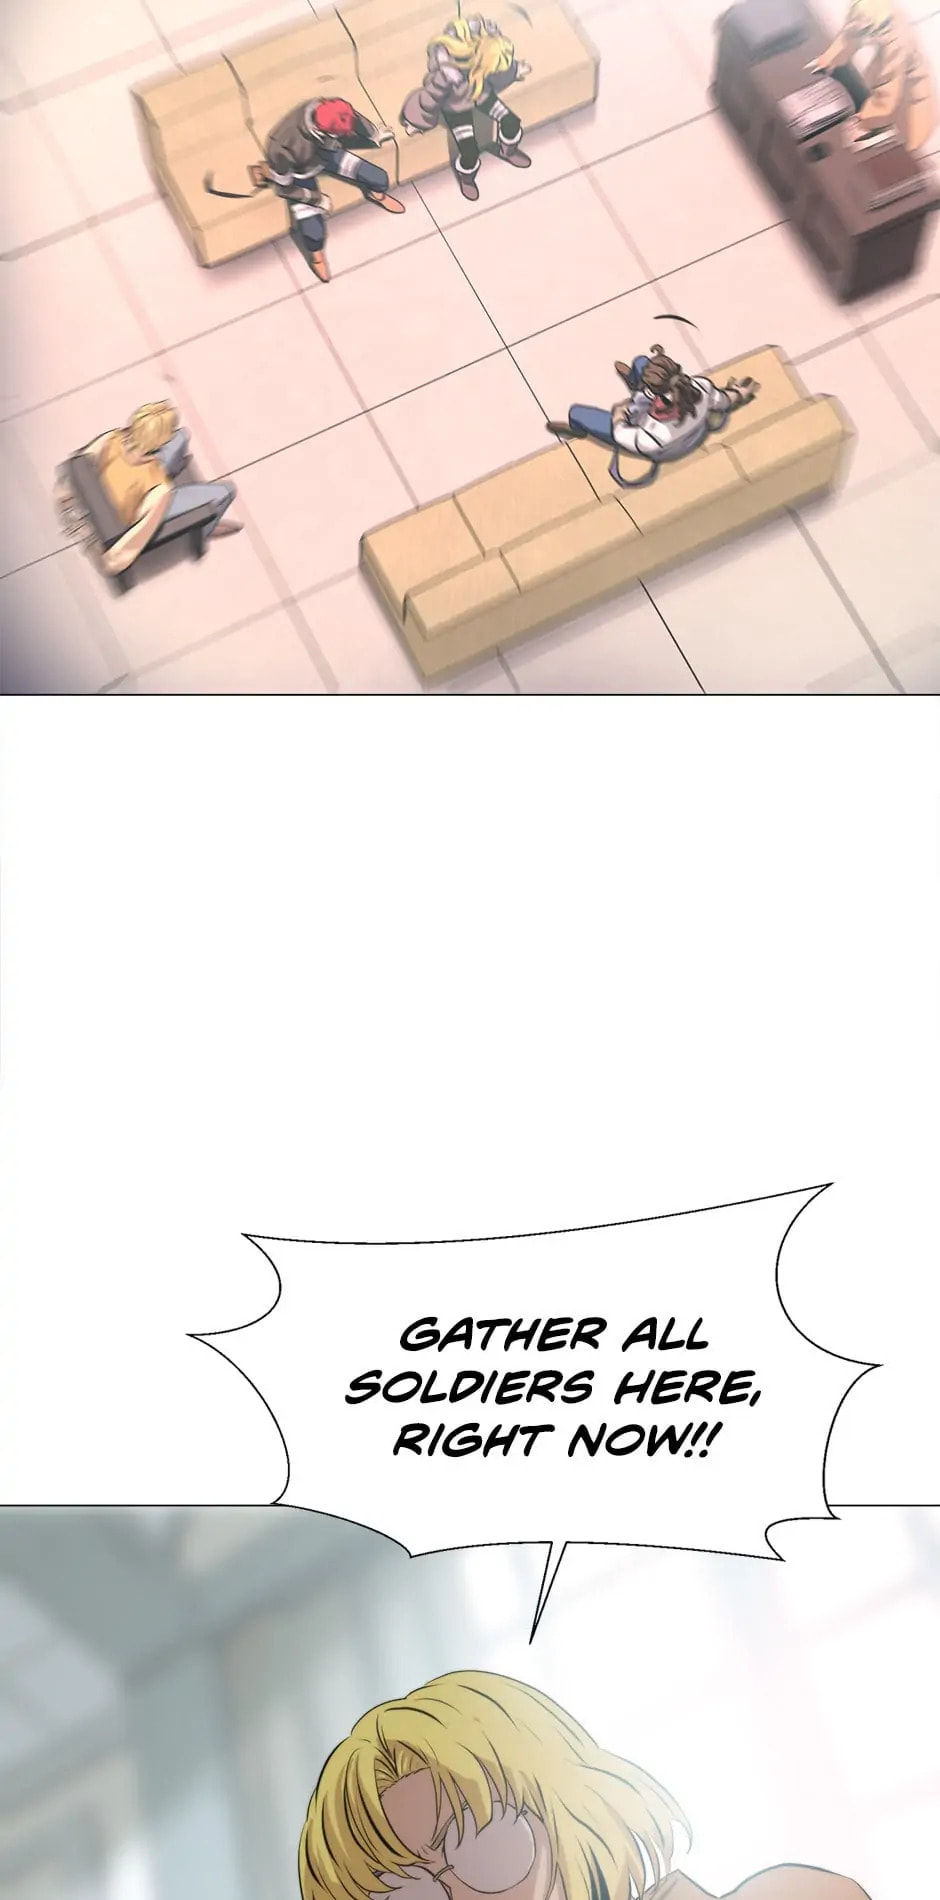
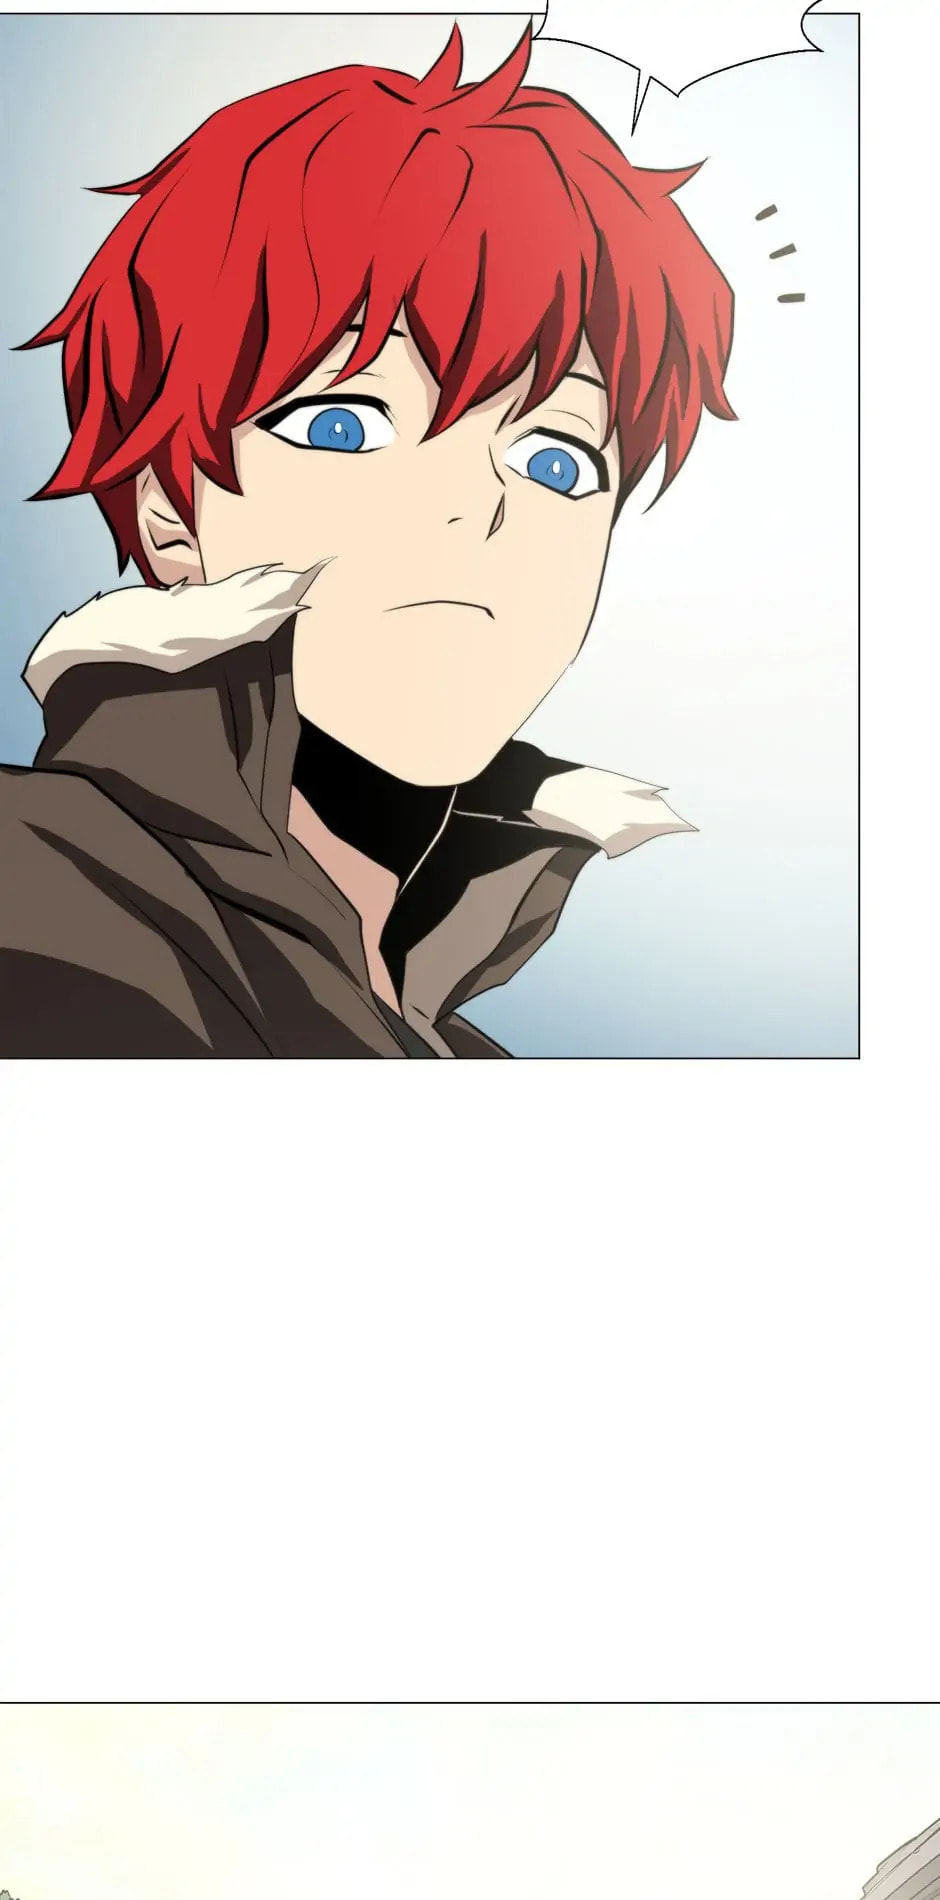
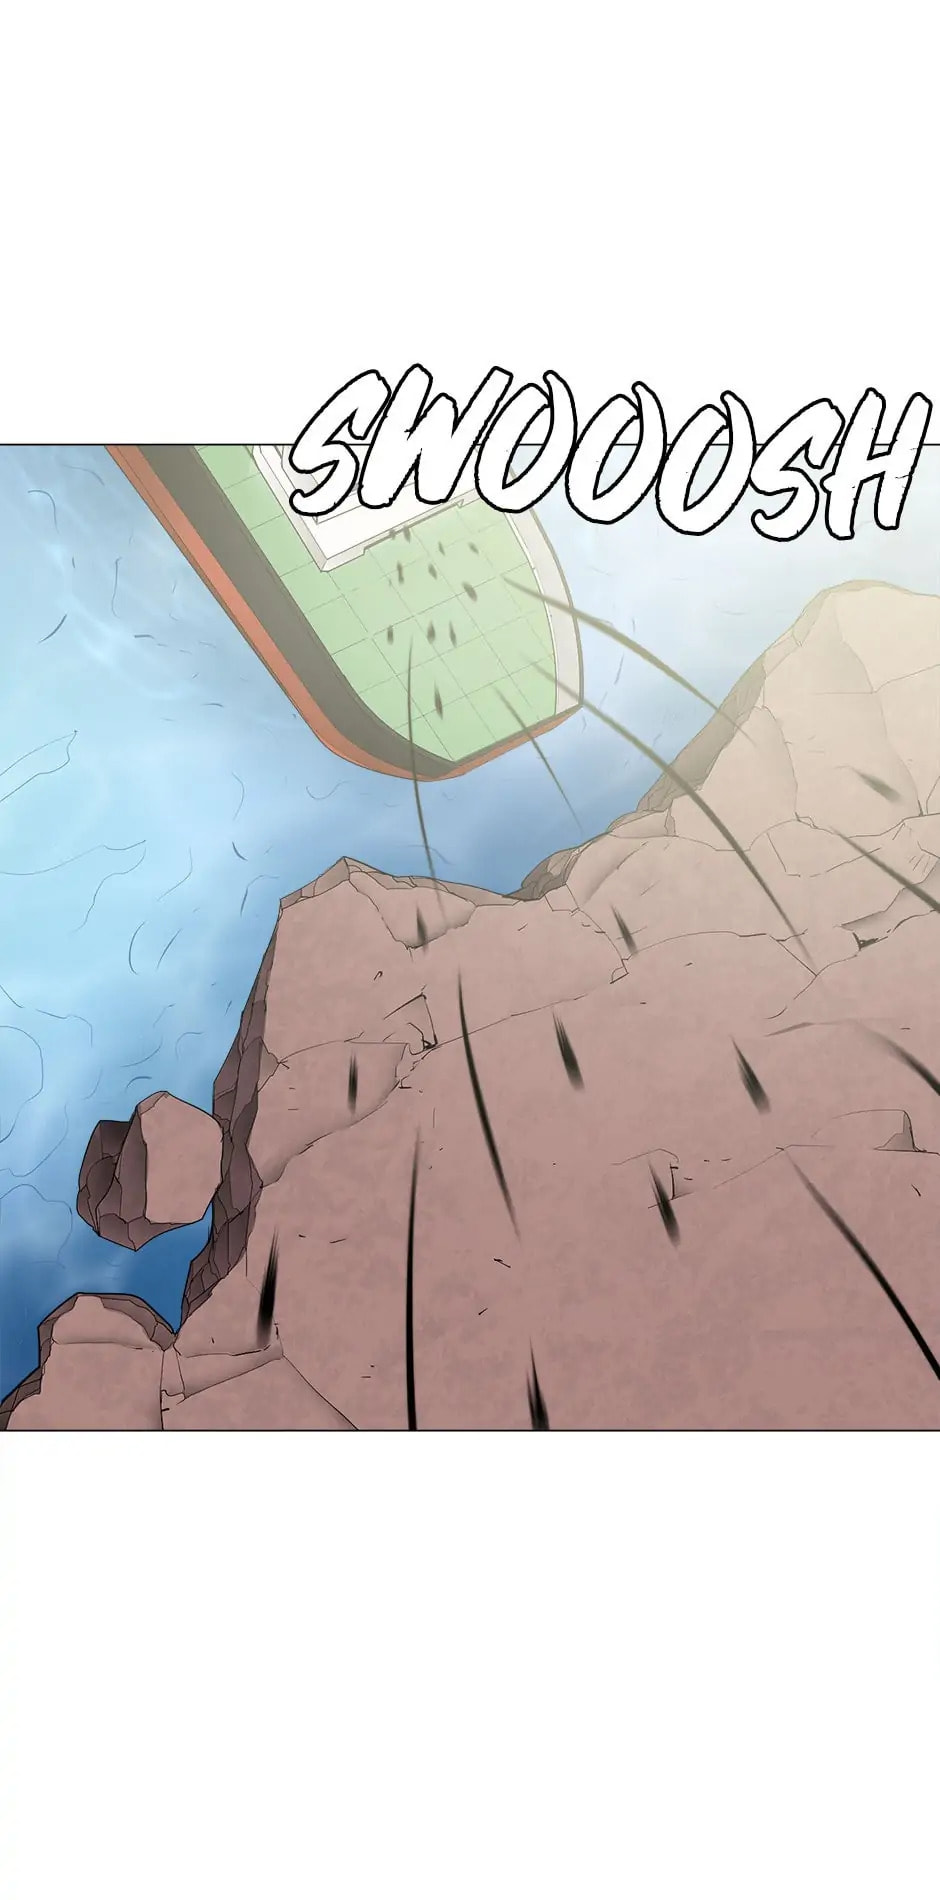
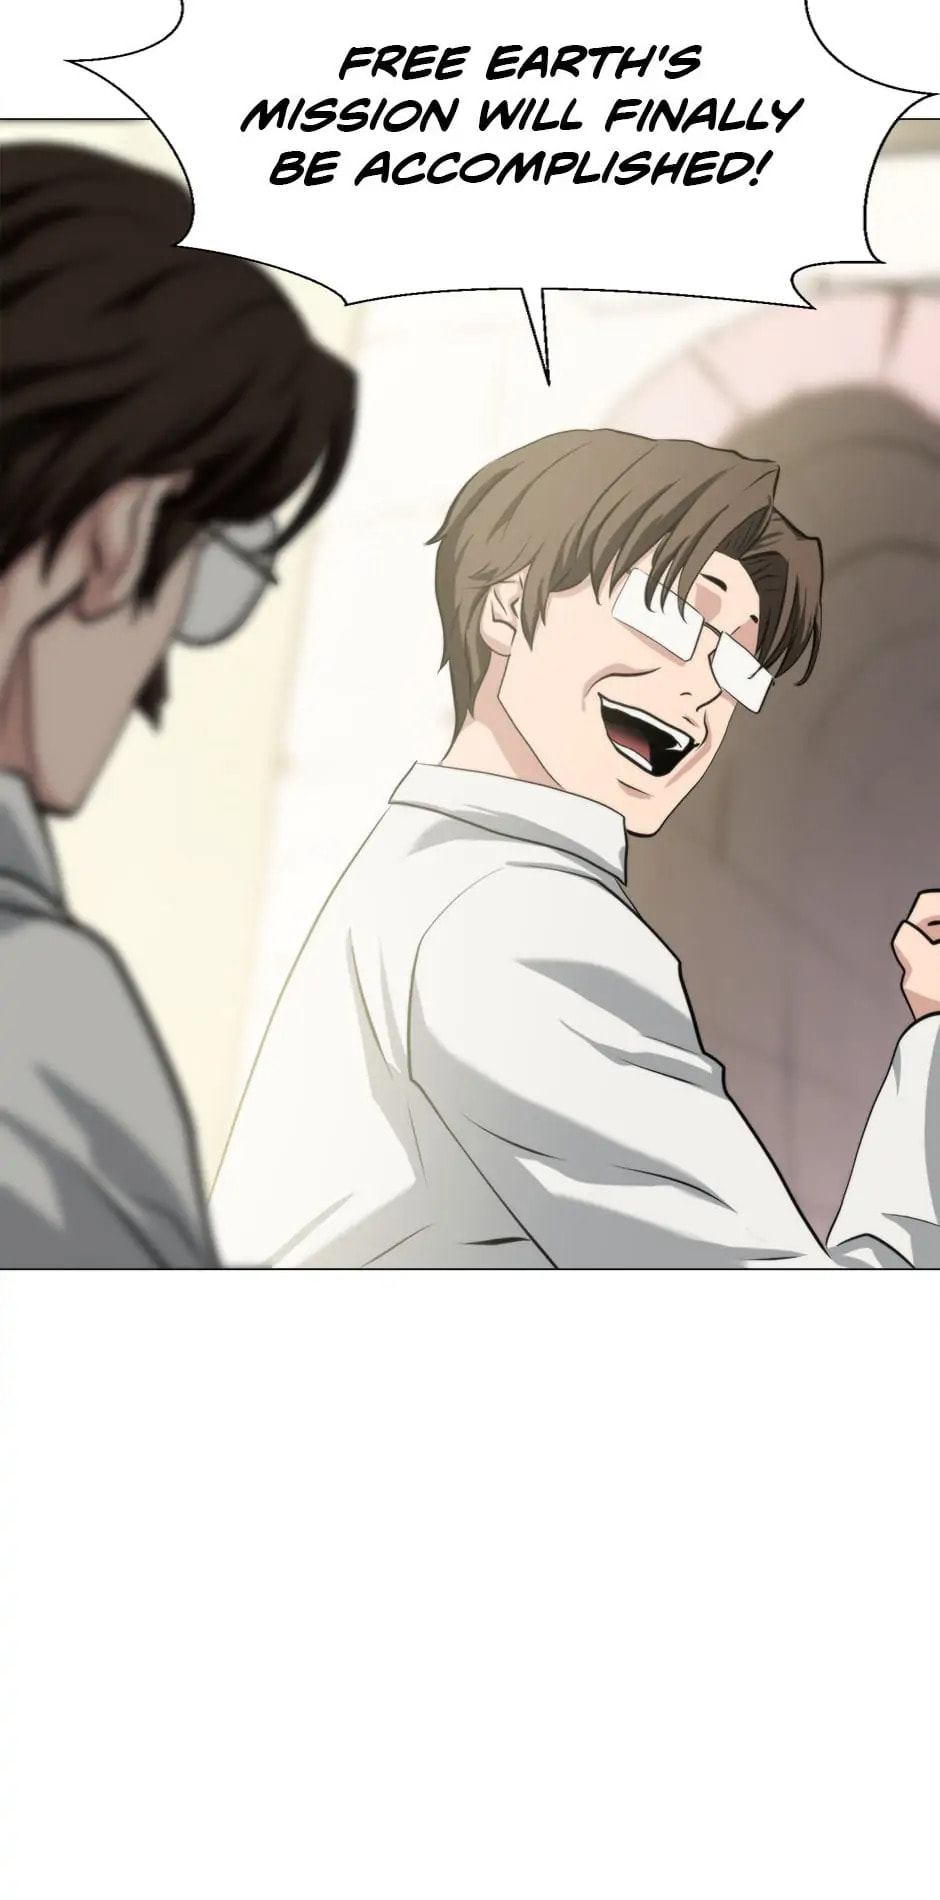
Read Burnout Shock chapter 3.1 image 2 on Lezhin
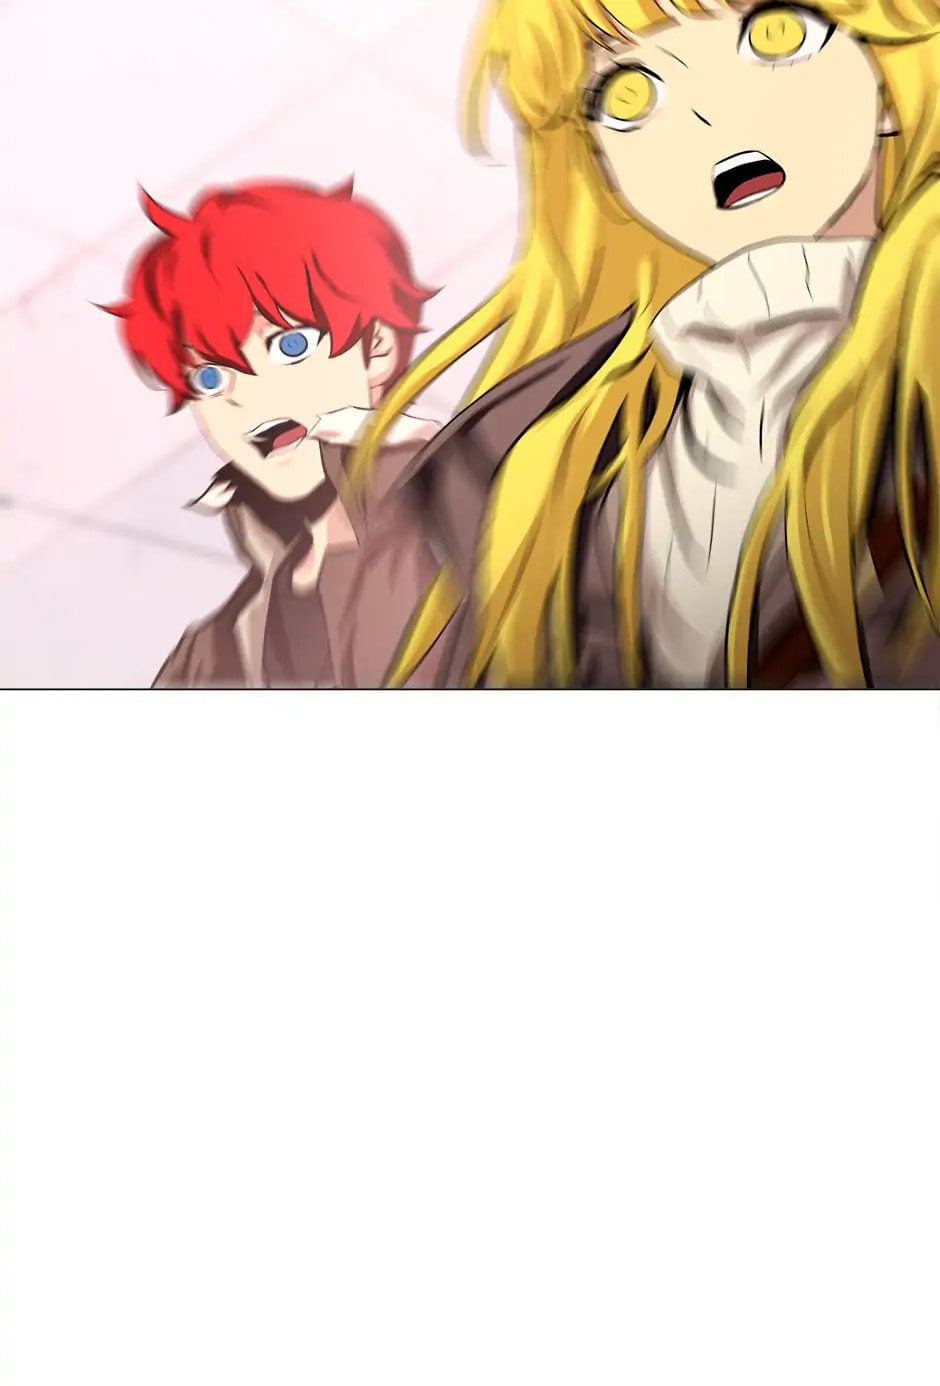
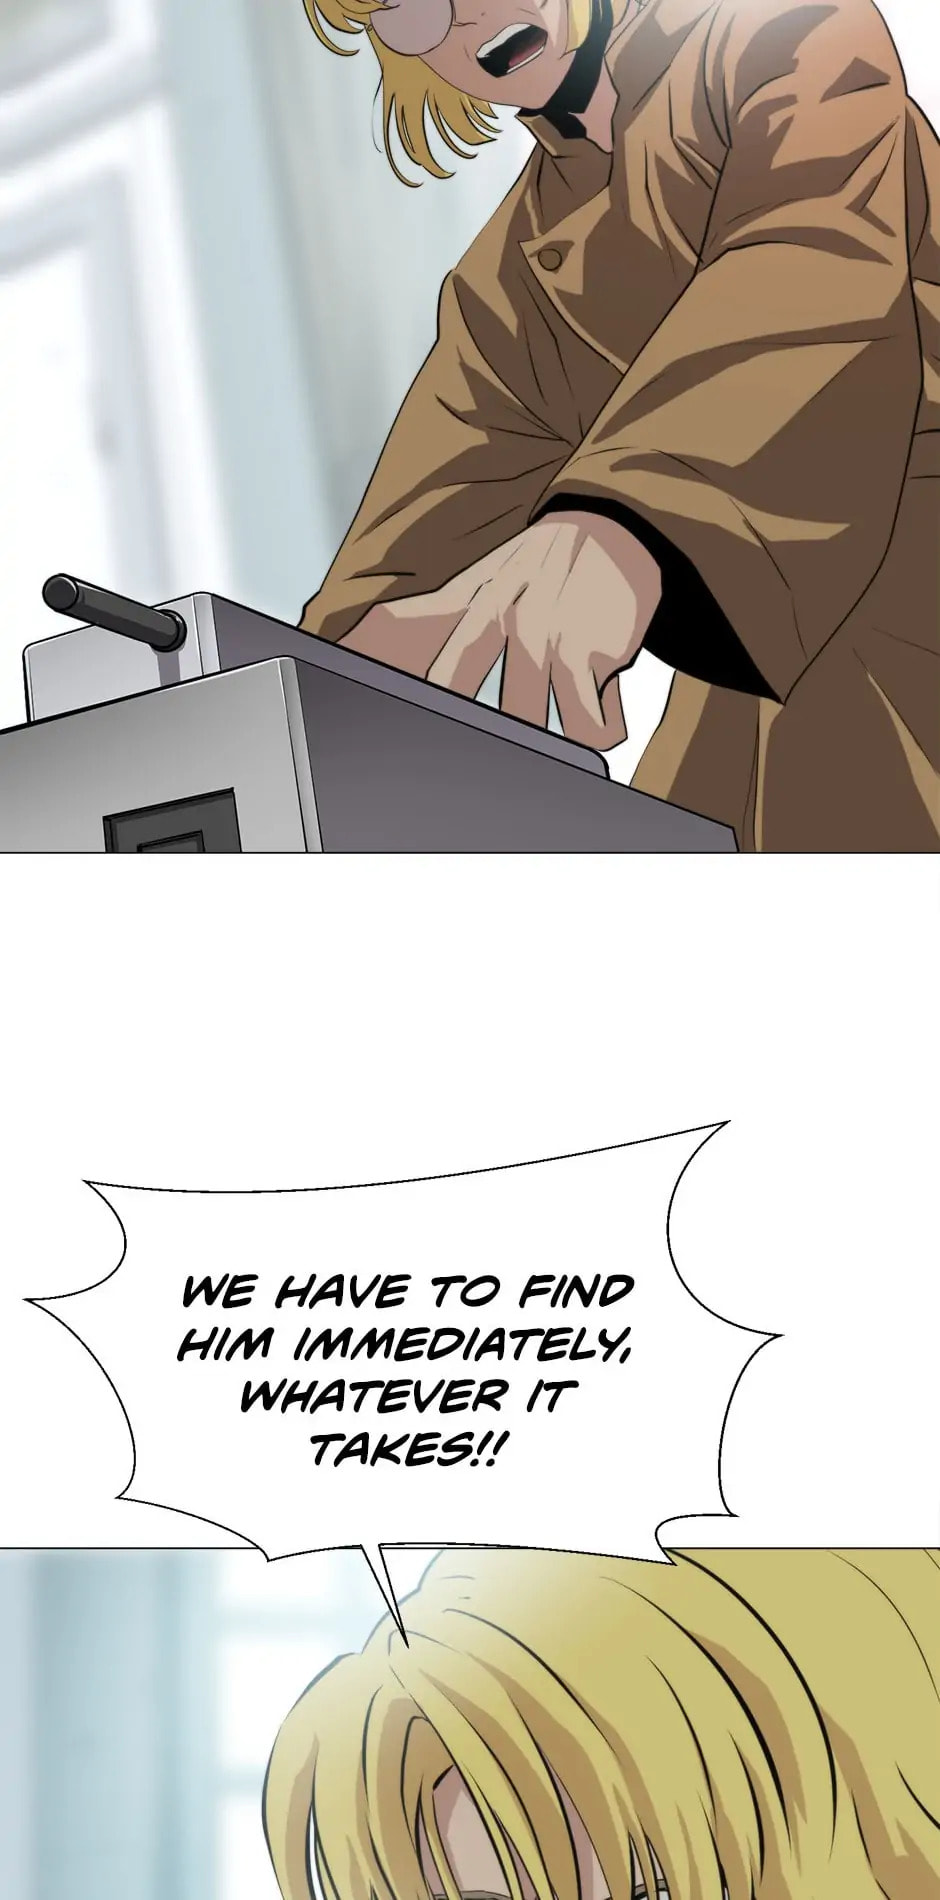
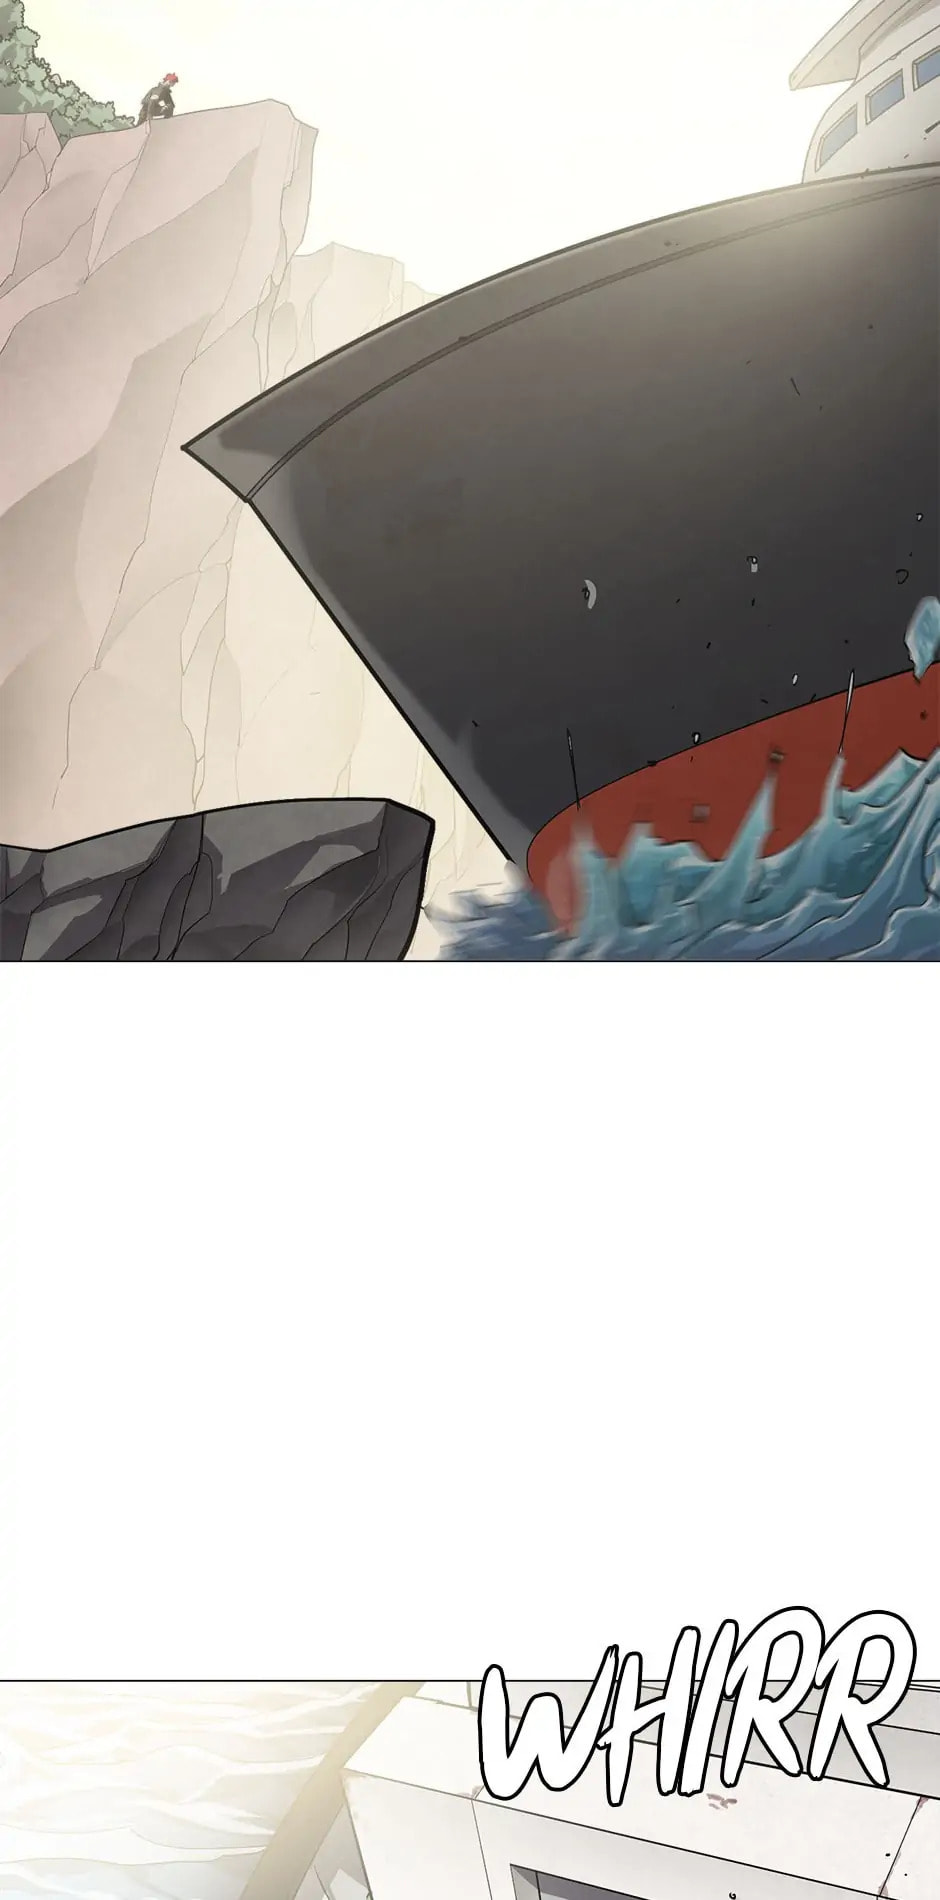
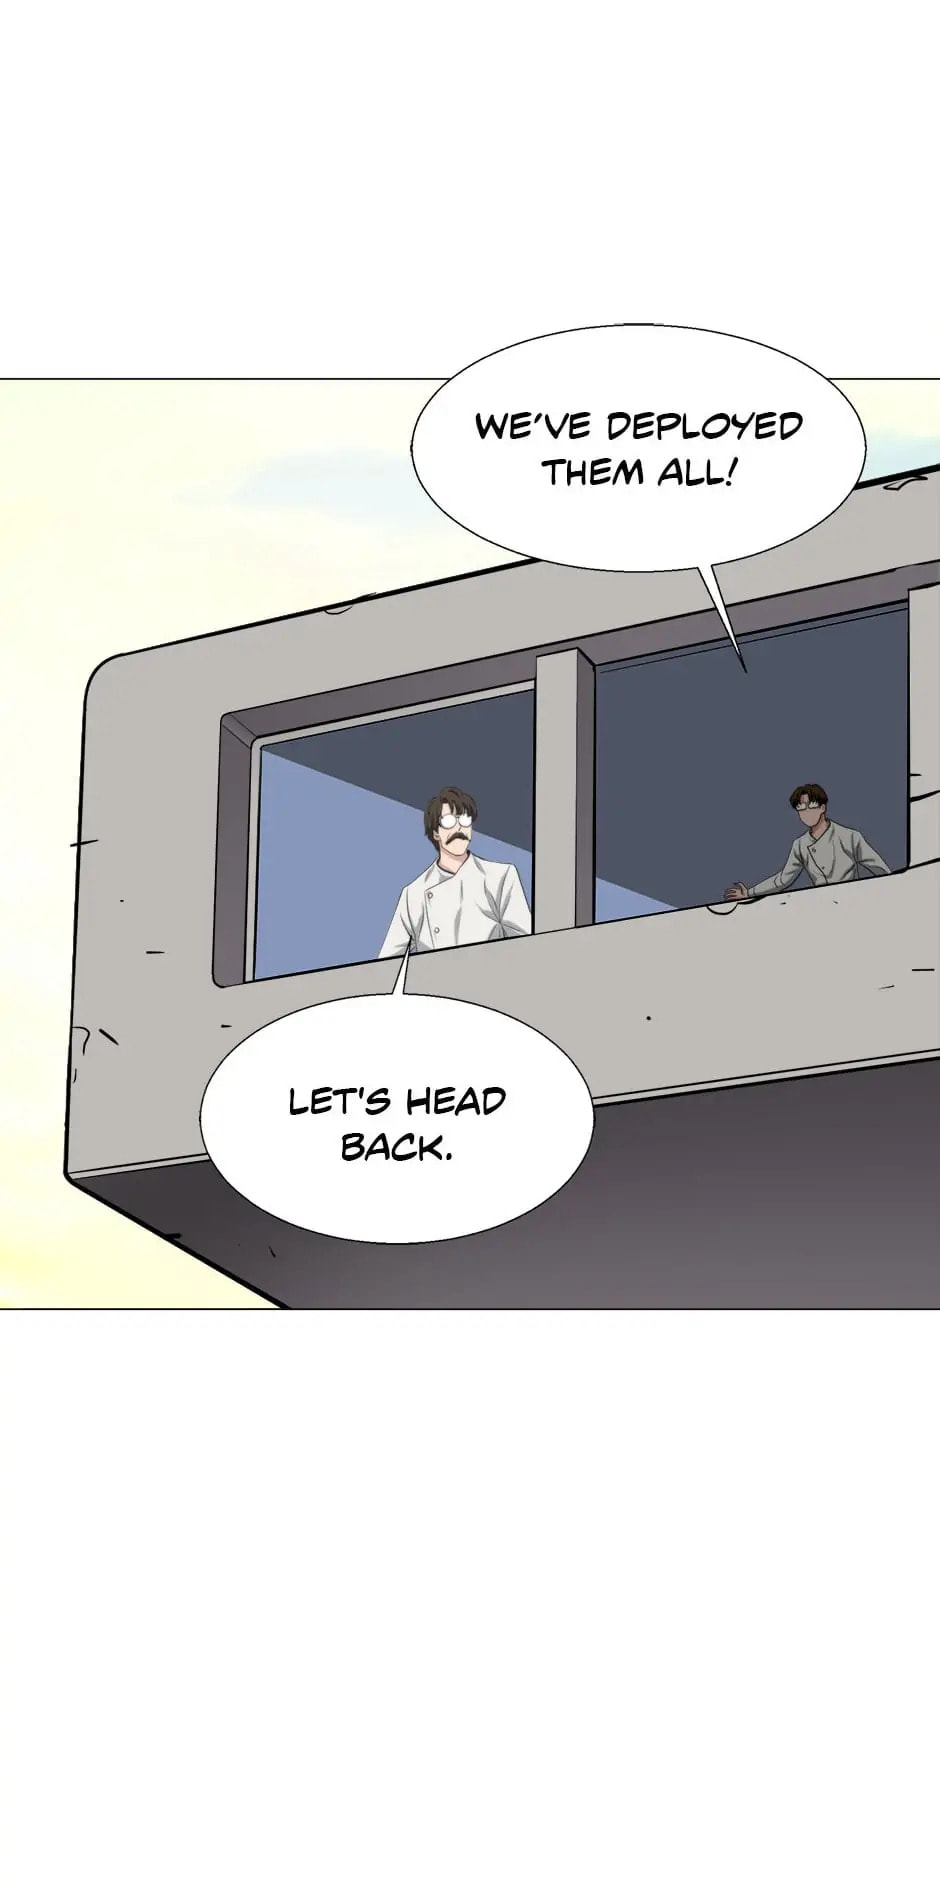
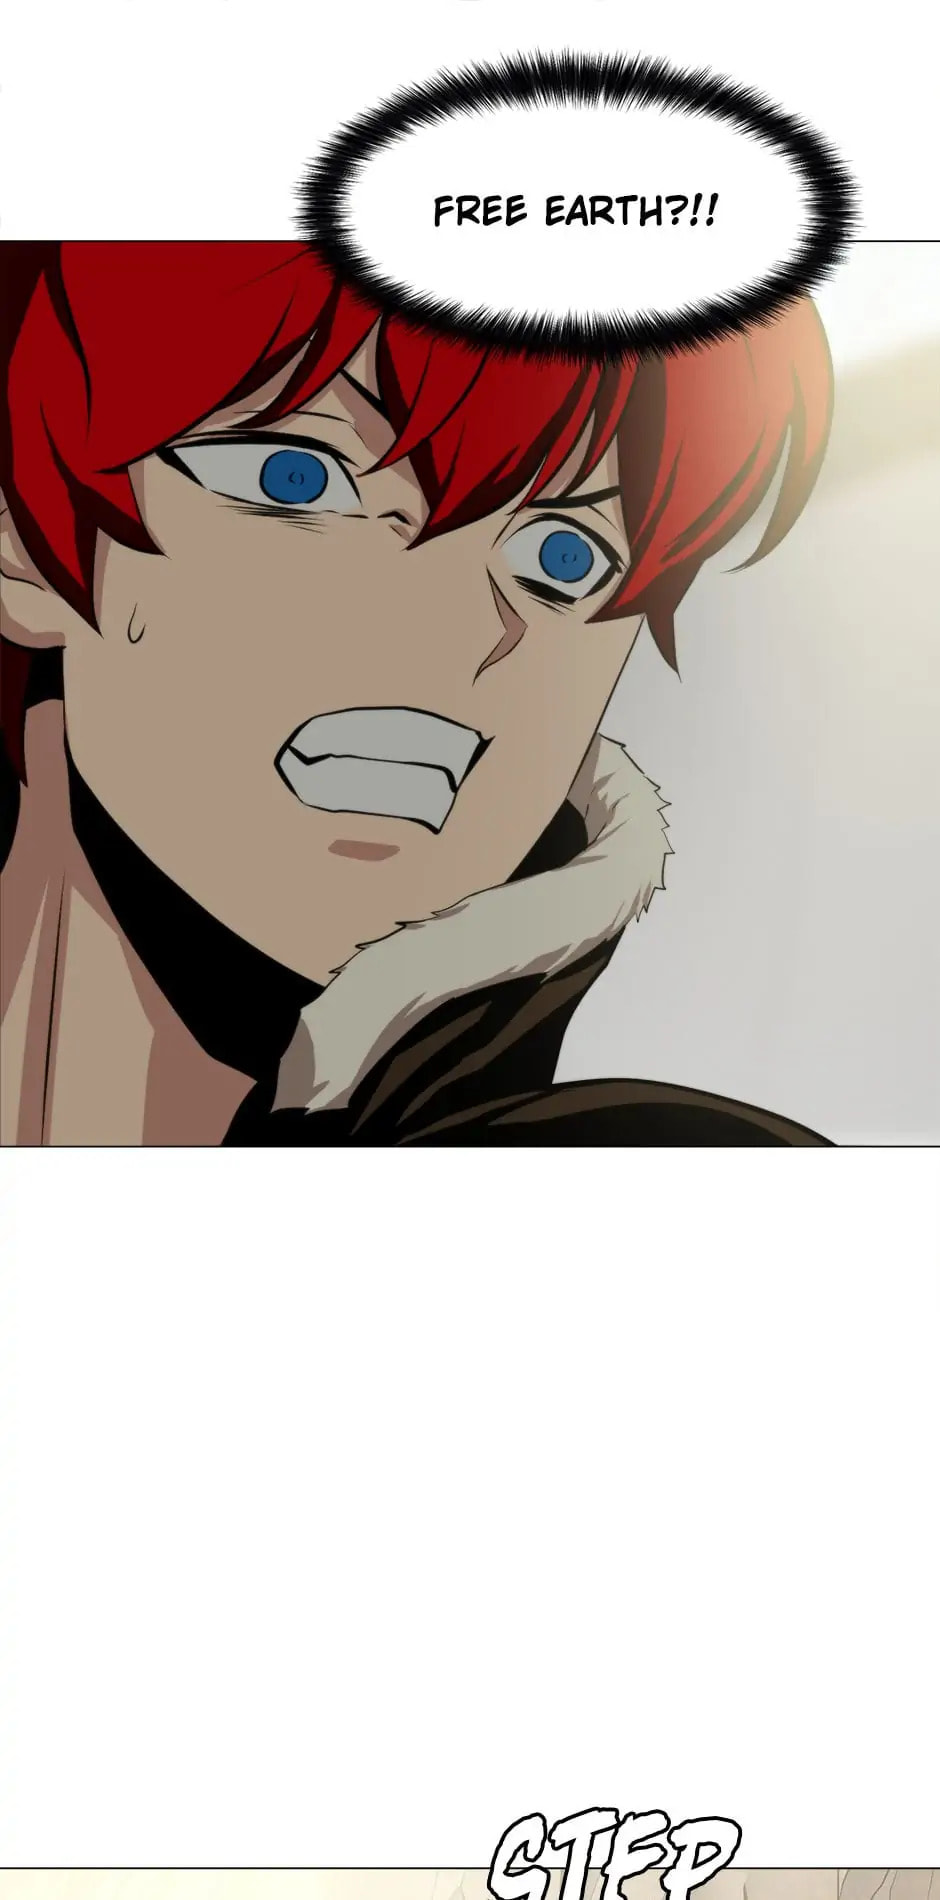
Read Burnout Shock chapter 3.1 image 3 on Lezhin
Read Burnout Shock chapter 3.1 image 4 on Lezhin
Read Burnout Shock chapter 3.1 image 5 on Lezhin
Read Burnout Shock chapter 3.1 image 6 on Lezhin
Read Burnout Shock chapter 3.1 image 7 on Lezhin
Read Burnout Shock chapter 3.1 image 8 on Lezhin
Read Burnout Shock chapter 3.1 image 9 on Lezhin
Read Burnout Shock chapter 3.1 image 10 on Lezhin
Read Burnout Shock chapter 3.1 image 11 on Lezhin
Read Burnout Shock chapter 3.1 image 12 on Lezhin
Read Burnout Shock chapter 3.1 image 13 on Lezhin
Read Burnout Shock chapter 3.1 image 14 on Lezhin
Read Burnout Shock chapter 3.1 image 15 on Lezhin
Read Burnout Shock chapter 3.1 image 16 on Lezhin
Read Burnout Shock chapter 3.1 image 17 on Lezhin
Read Burnout Shock chapter 3.1 image 18 on Lezhin
Read Burnout Shock chapter 3.1 image 19 on Lezhin
Read Burnout Shock chapter 3.1 image 20 on Lezhin
Read Burnout Shock chapter 3.1 image 21 on Lezhin
Read Burnout Shock chapter 3.1 image 22 on Lezhin
Read Burnout Shock chapter 3.1 image 23 on Lezhin
Read Burnout Shock chapter 3.1 image 24 on Lezhin
Read Burnout Shock chapter 3.1 image 25 on Lezhin
Read Burnout Shock chapter 3.1 image 26 on Lezhin
Read Burnout Shock chapter 3.1 image 27 on Lezhin
Read Burnout Shock chapter 3.1 image 28 on Lezhin
Read Burnout Shock chapter 3.1 image 29 on Lezhin
Read Burnout Shock chapter 3.1 image 30 on Lezhin
Read Burnout Shock chapter 3.1 image 31 on Lezhin
Read Burnout Shock chapter 3.1 image 32 on Lezhin
Read Burnout Shock chapter 3.1 image 33 on Lezhin
Read Burnout Shock chapter 3.1 image 34 on Lezhin
Read Burnout Shock chapter 3.1 image 35 on Lezhin
Read Burnout Shock chapter 3.1 image 36 on Lezhin
Read Burnout Shock chapter 3.1 image 37 on Lezhin
Read Burnout Shock chapter 3.1 image 38 on Lezhin
Read Burnout Shock chapter 3.1 image 39 on Lezhin
Read Burnout Shock chapter 3.1 image 40 on Lezhin
Read Burnout Shock chapter 3.1 image 41 on Lezhin
Read Burnout Shock chapter 3.1 image 42 on Lezhin
Read Burnout Shock chapter 3.1 image 43 on Lezhin
Read Burnout Shock chapter 3.1 image 44 on Lezhin
Read Burnout Shock chapter 3.1 image 45 on Lezhin
Read Burnout Shock chapter 3.1 image 46 on Lezhin
Read Burnout Shock chapter 3.1 image 47 on Lezhin
Read Burnout Shock chapter 3.1 image 48 on Lezhin
Read Burnout Shock chapter 3.1 image 49 on Lezhin
Read Burnout Shock chapter 3.1 image 50 on Lezhin
Read Burnout Shock chapter 3.1 image 51 on Lezhin
Read Burnout Shock chapter 3.1 image 52 on Lezhin
Read Burnout Shock chapter 3.1 image 53 on Lezhin
Read Burnout Shock chapter 3.1 image 54 on Lezhin
Read Burnout Shock chapter 3.1 image 55 on Lezhin
Read Burnout Shock chapter 3.1 image 56 on Lezhin
Read Burnout Shock chapter 3.1 image 57 on Lezhin
Read Burnout Shock chapter 3.1 image 58 on Lezhin
Comments
Prev Next